In this video tutorial, learn how to install z clip mounting hardware. Use these flush mount brackets to secure items to a wall.
This wall-mounting solution securely fastens items to a vertical wall.
In addition, they are simple to install, reliable, and versatile.
Z clips, a more modern version of french cleats, allow for easy removal and installation of items.
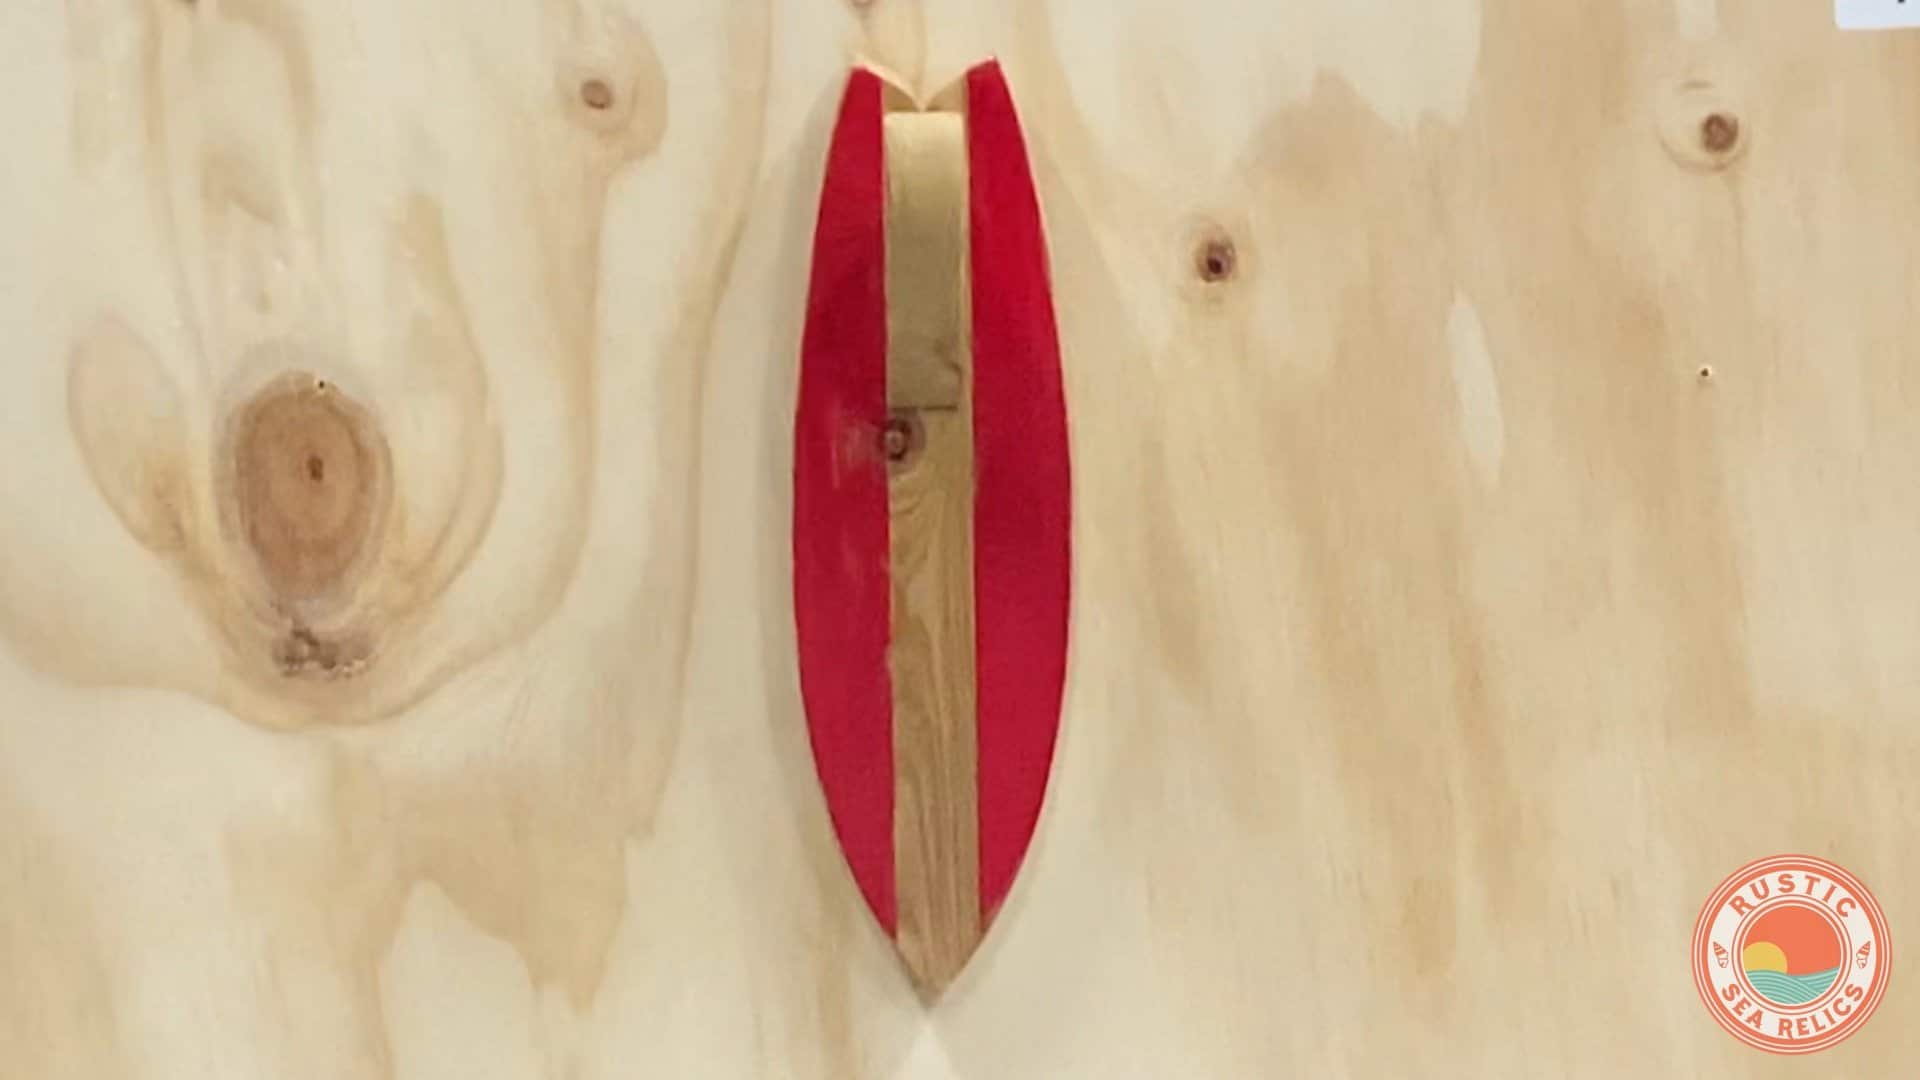
Even if you haven’t purchased a Surfboard Towel Holder, z clips can be used to mount wall panels, cabinets, pictures, artwork, or any flat object to a vertical wall.
Tools & Materials
For your convenience, I included links to the tools and material I used in this project.
If you purchased a surfboard fin towel rack, the z clips and screws are included.
- Z Clip for Single Items
- 12″ Z Clip
- 24″ Z Clip
- Magnetic Level
- Drill
- Screws for Item
- 2″ Screws for Wall Stud
- Stud Finder
Video Tutorial
There are several things which are difficult to fully explain with words and images, so be sure to check out the video tutorial below!
How To Install Z Clip Mounting Hardware
Time needed: 10 minutes
Learn how to install z clip mounting hardware (also known as french cleats) to securely mount any item to a wall that can be easily removed.
- Determine Location on Wall
First, determine the location to mount the item.
Ideally, choose a mounting location in front of a wall stud.
To find a wall stud, use a neodymium magnet or stud finder.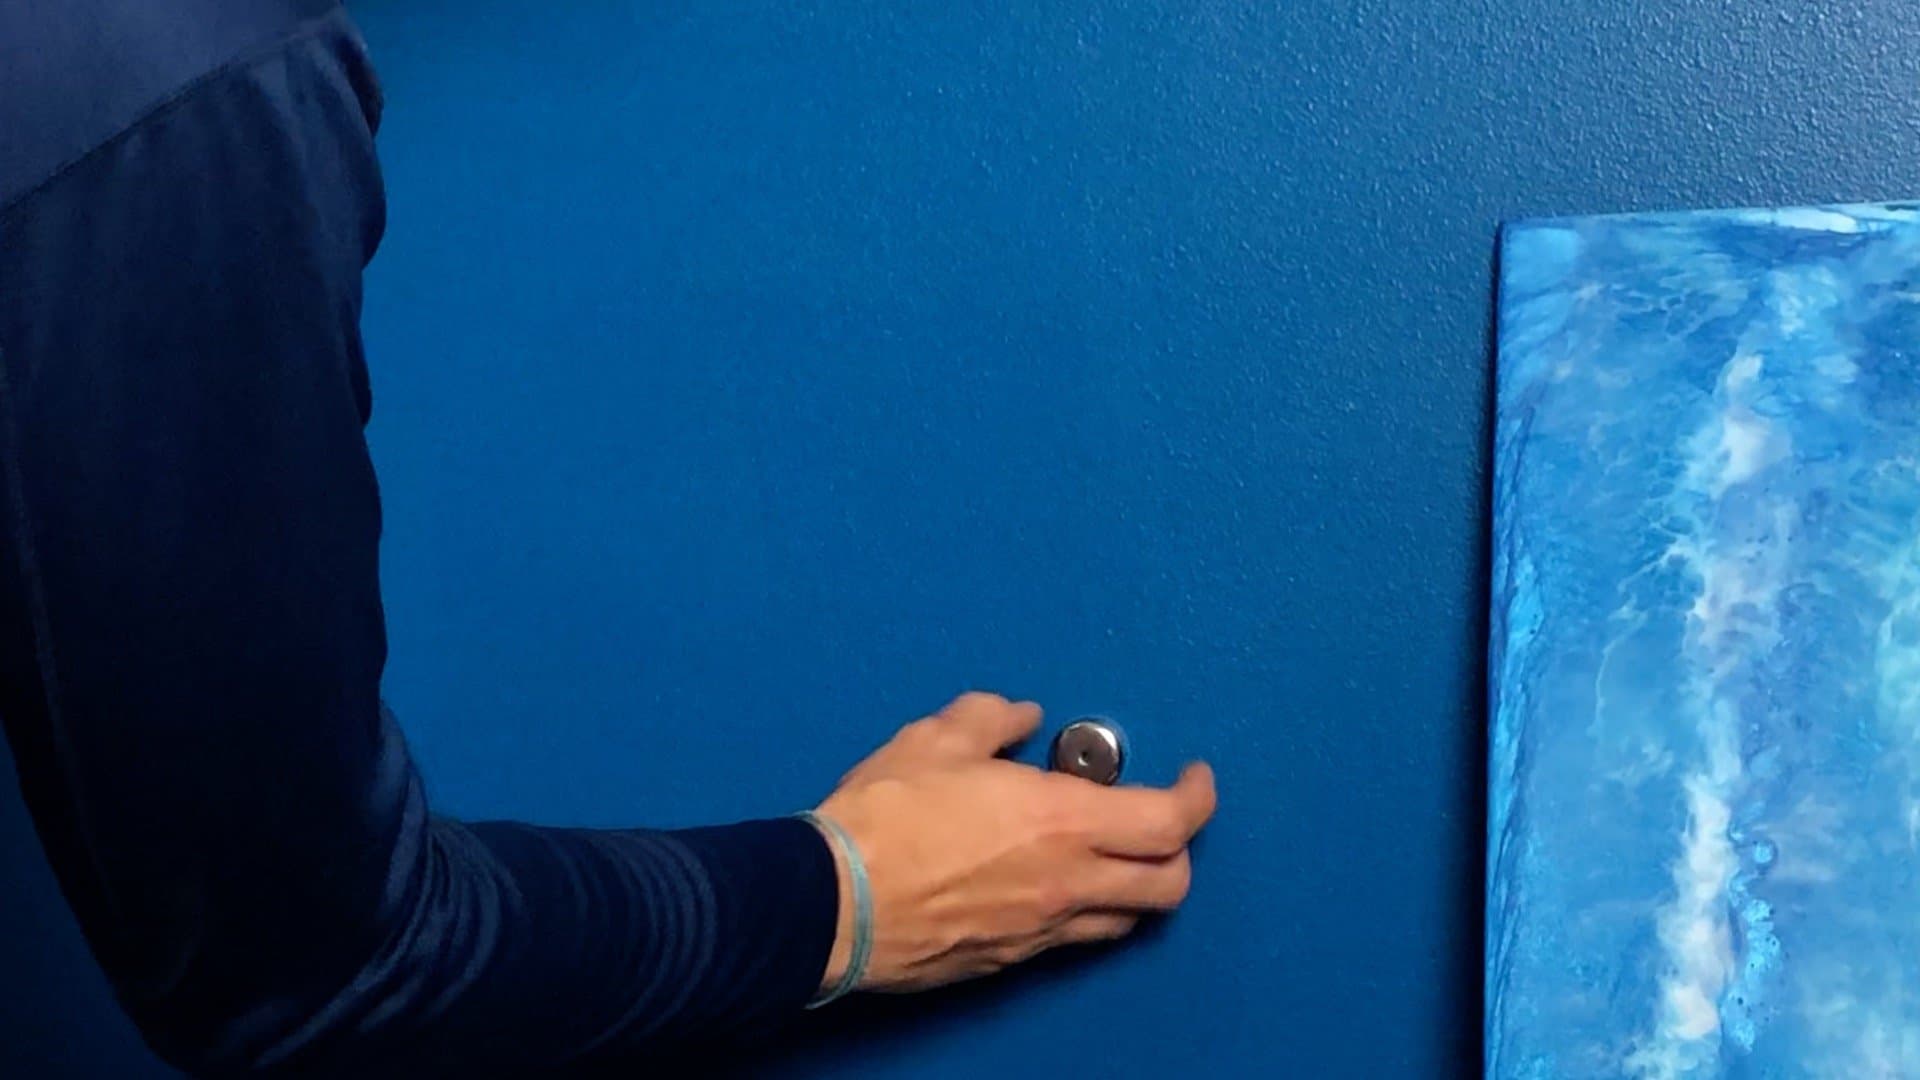

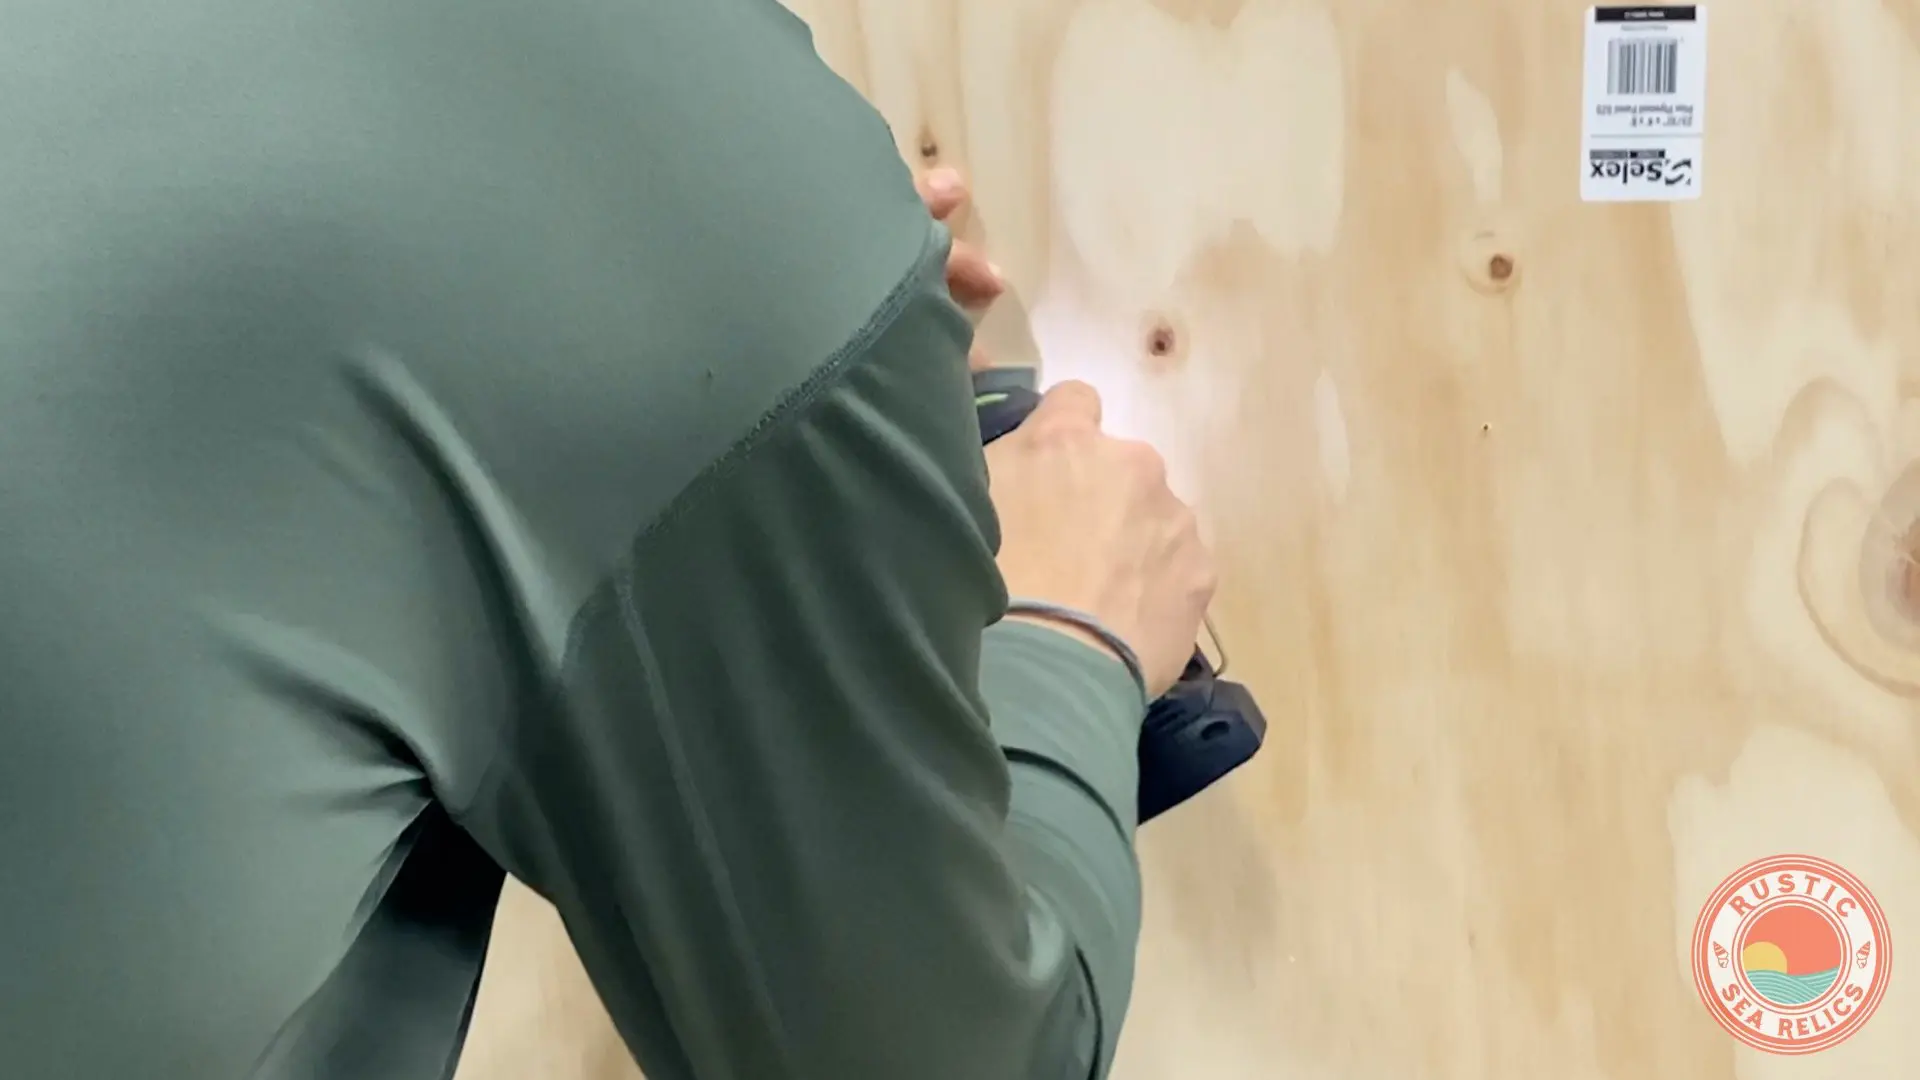
- Install Z Clip on Item
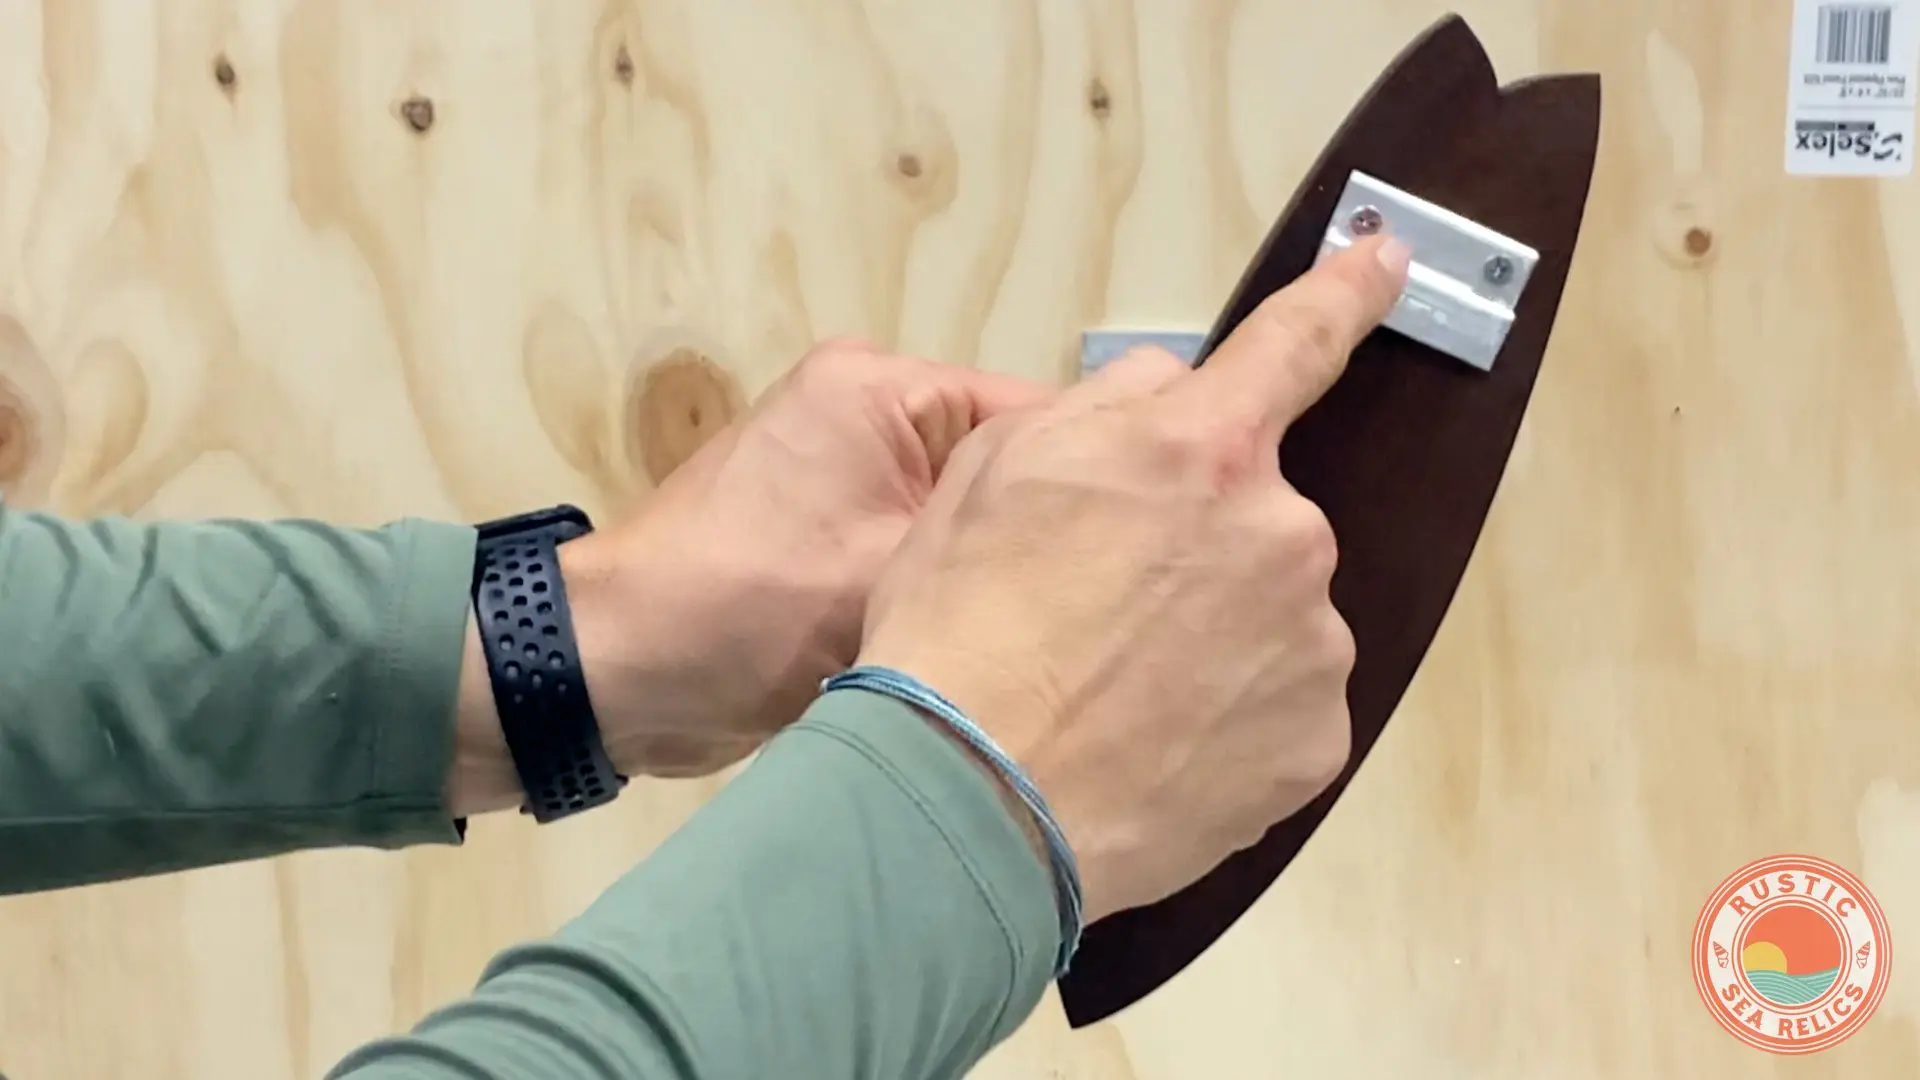
Next, install one z clip to the rear of the item using 2 screws.
Fasten the first screw and use a magnetic level before attaching the second screw.
Also, The best location on the item is the upper half.
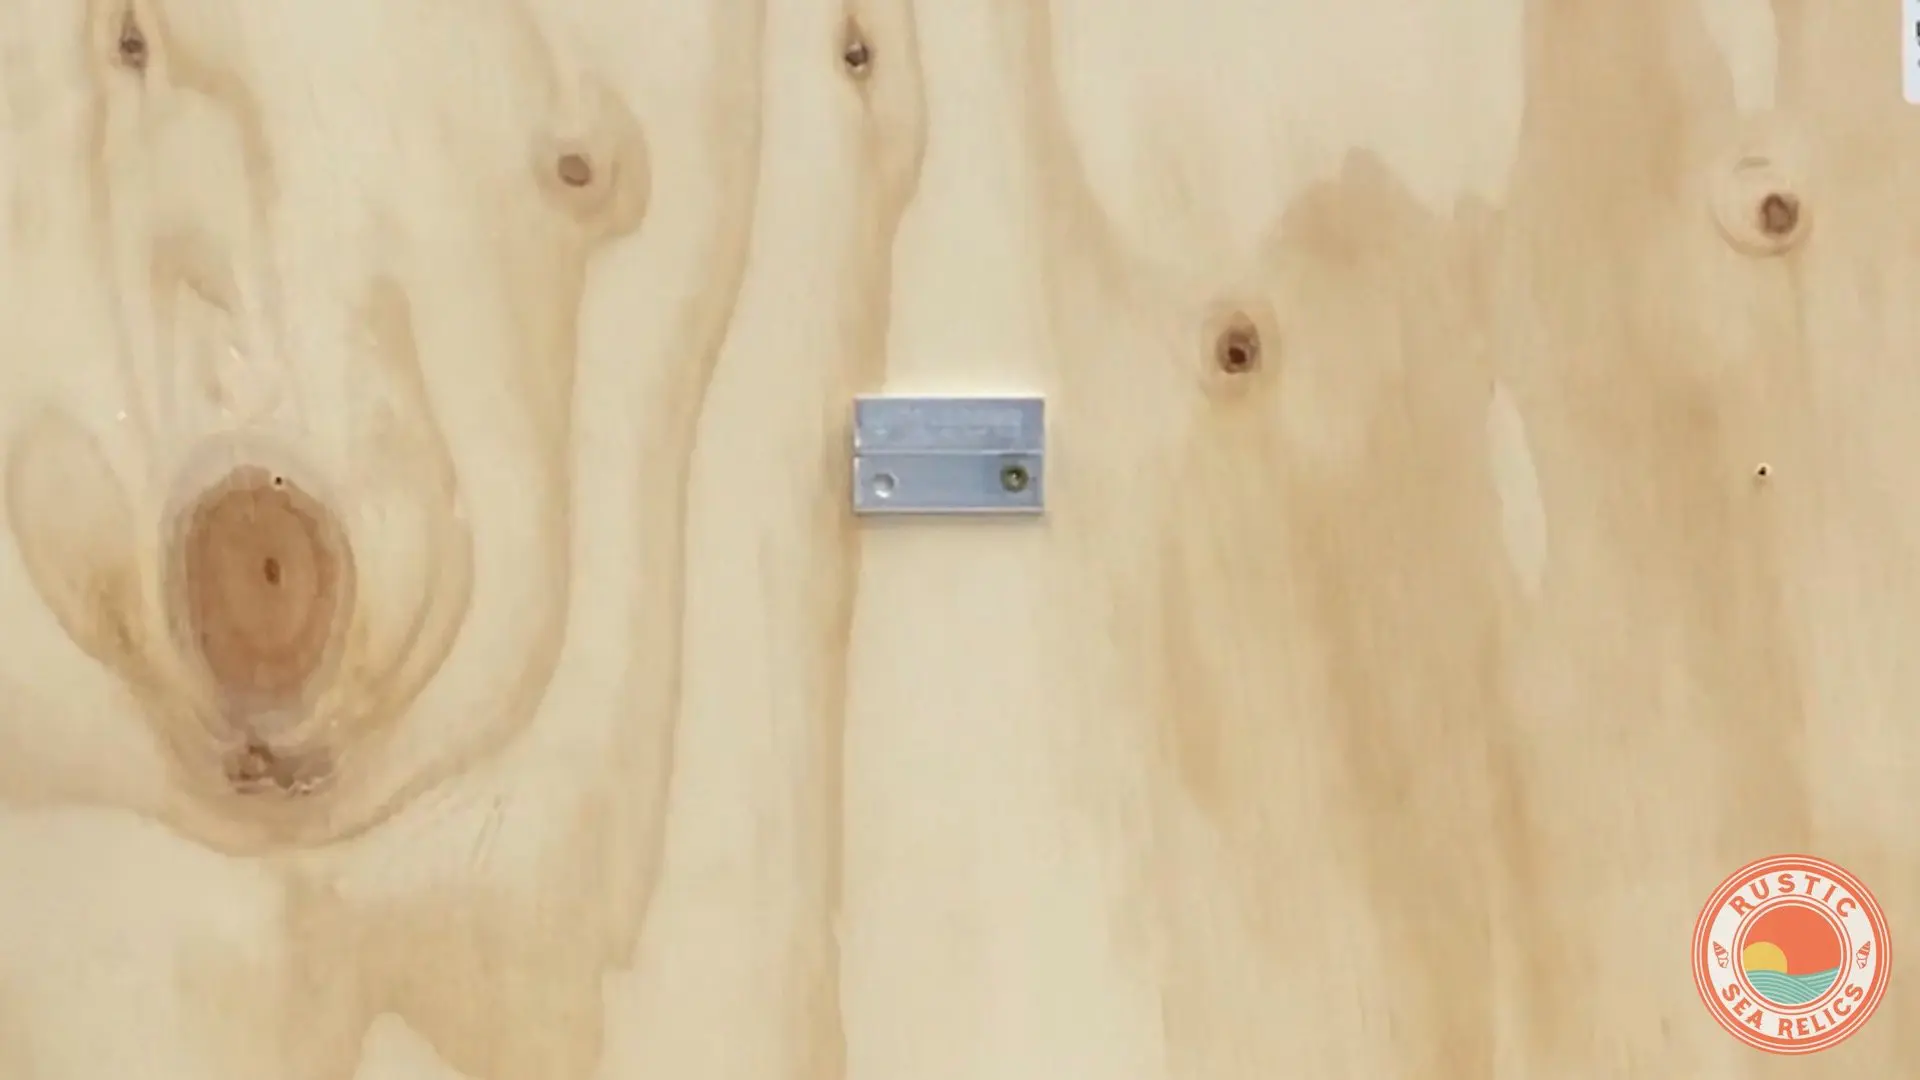
- Secure Z Clip on Wall
Then, secure the other z clip to the wall with one screw.
The z clip should be tight enough to stay in place, but loose enough to slightly move with your hand.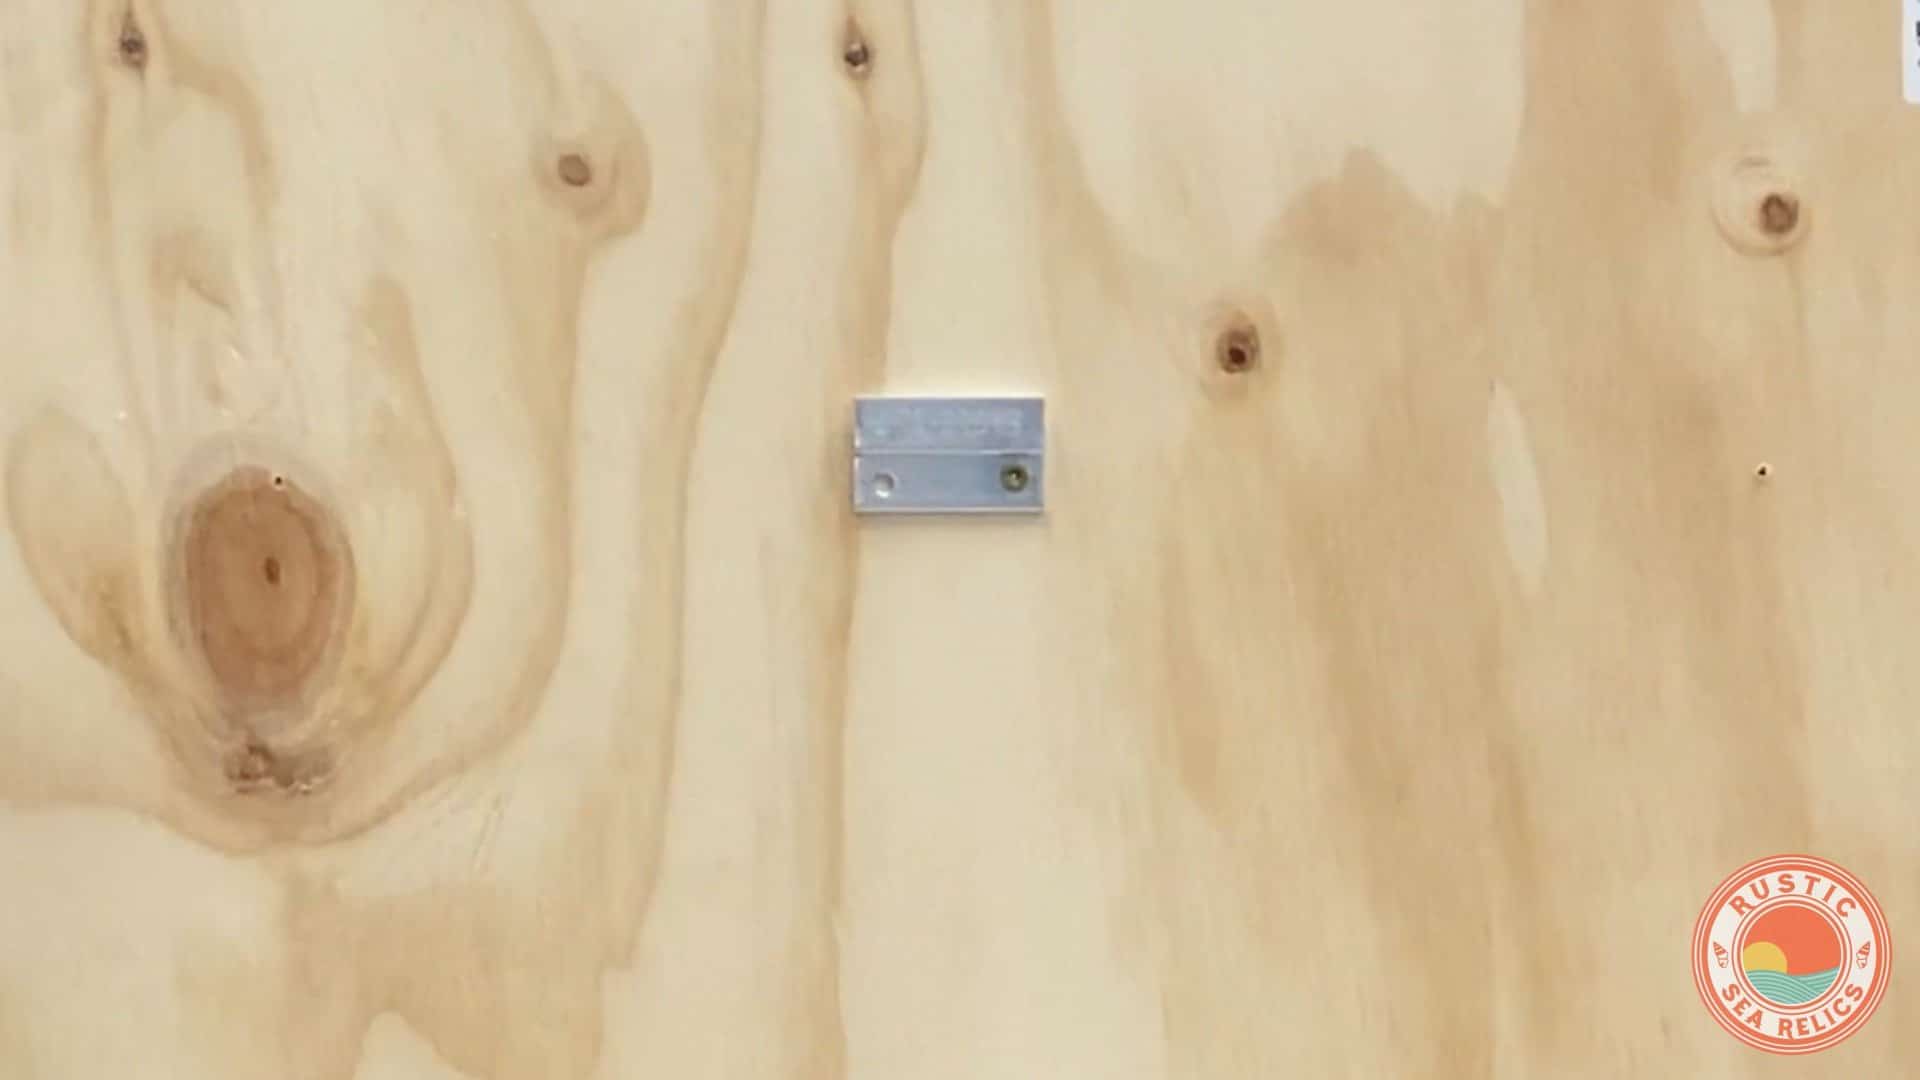
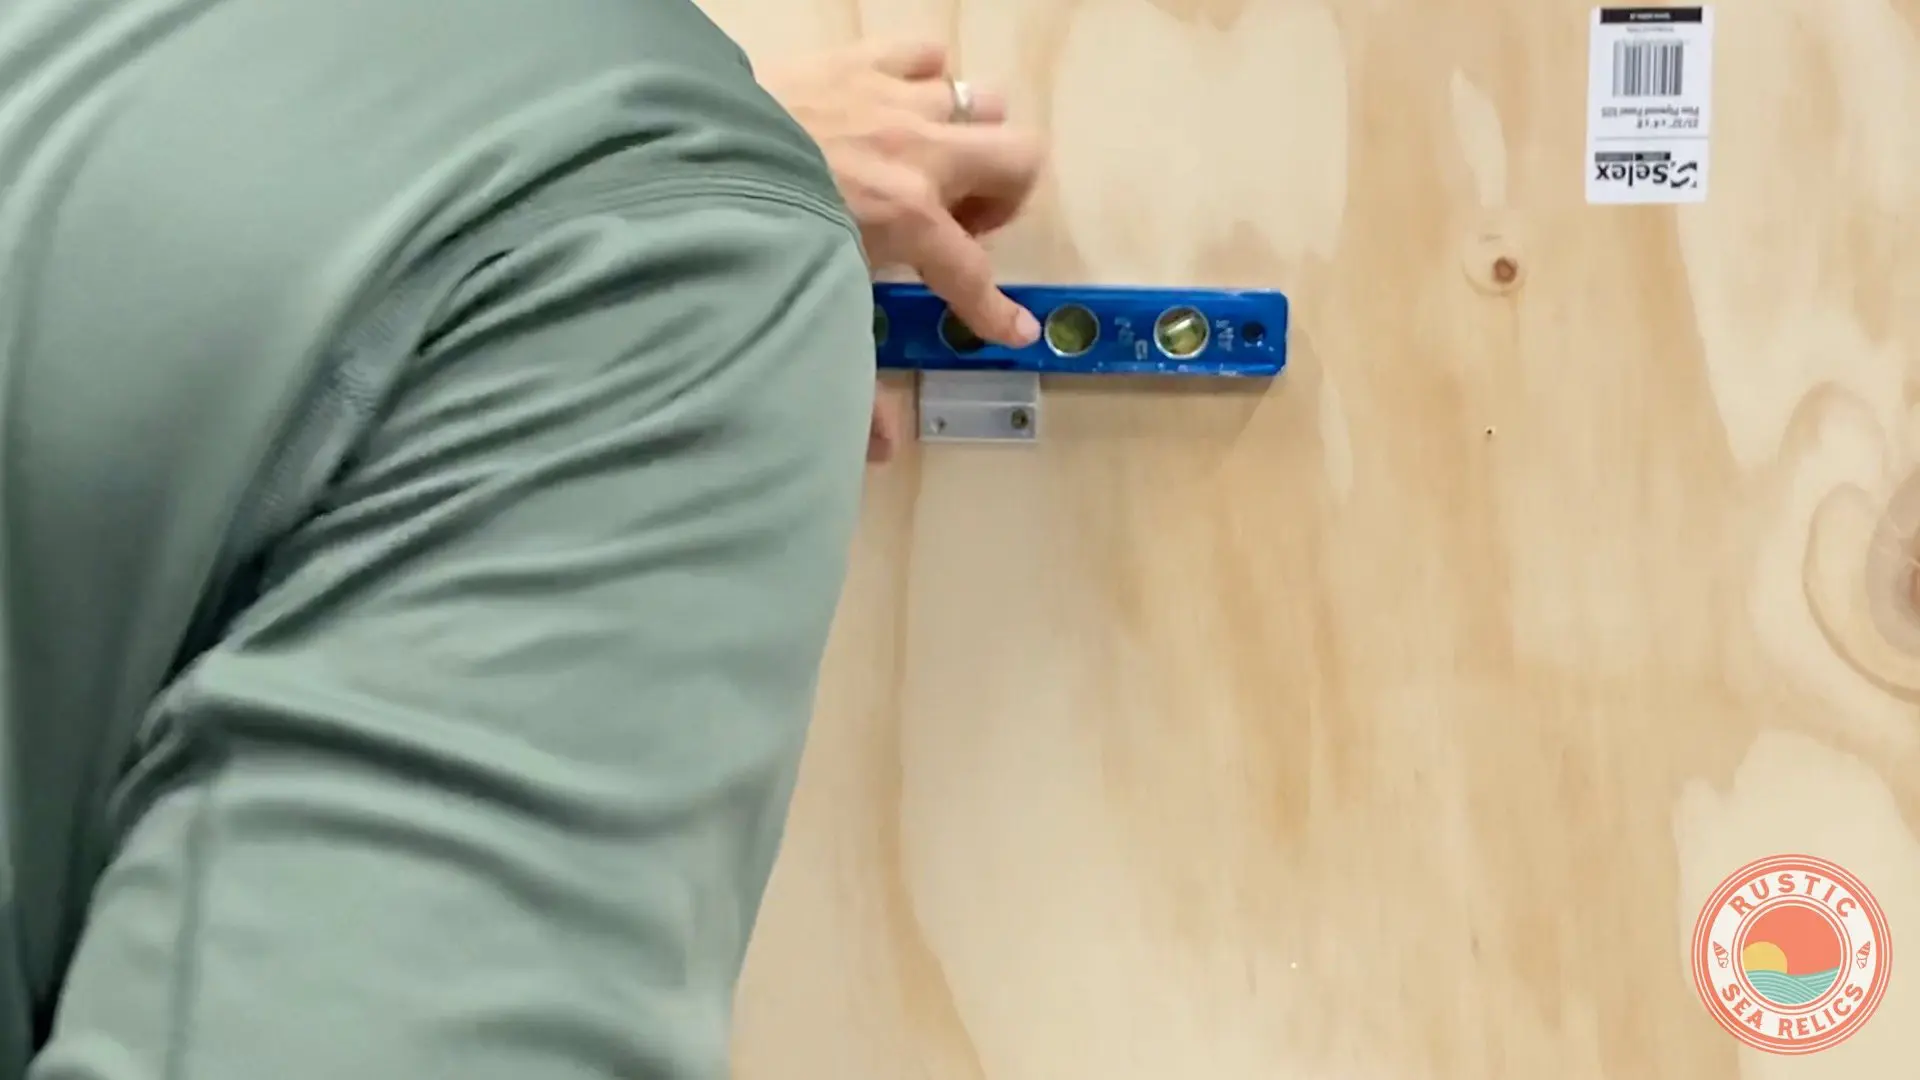
- Check for Level
Next, use a magnetic level to make sure the z clip secured to the wall is level.
Once level, mark the location of the other hole with a pencil.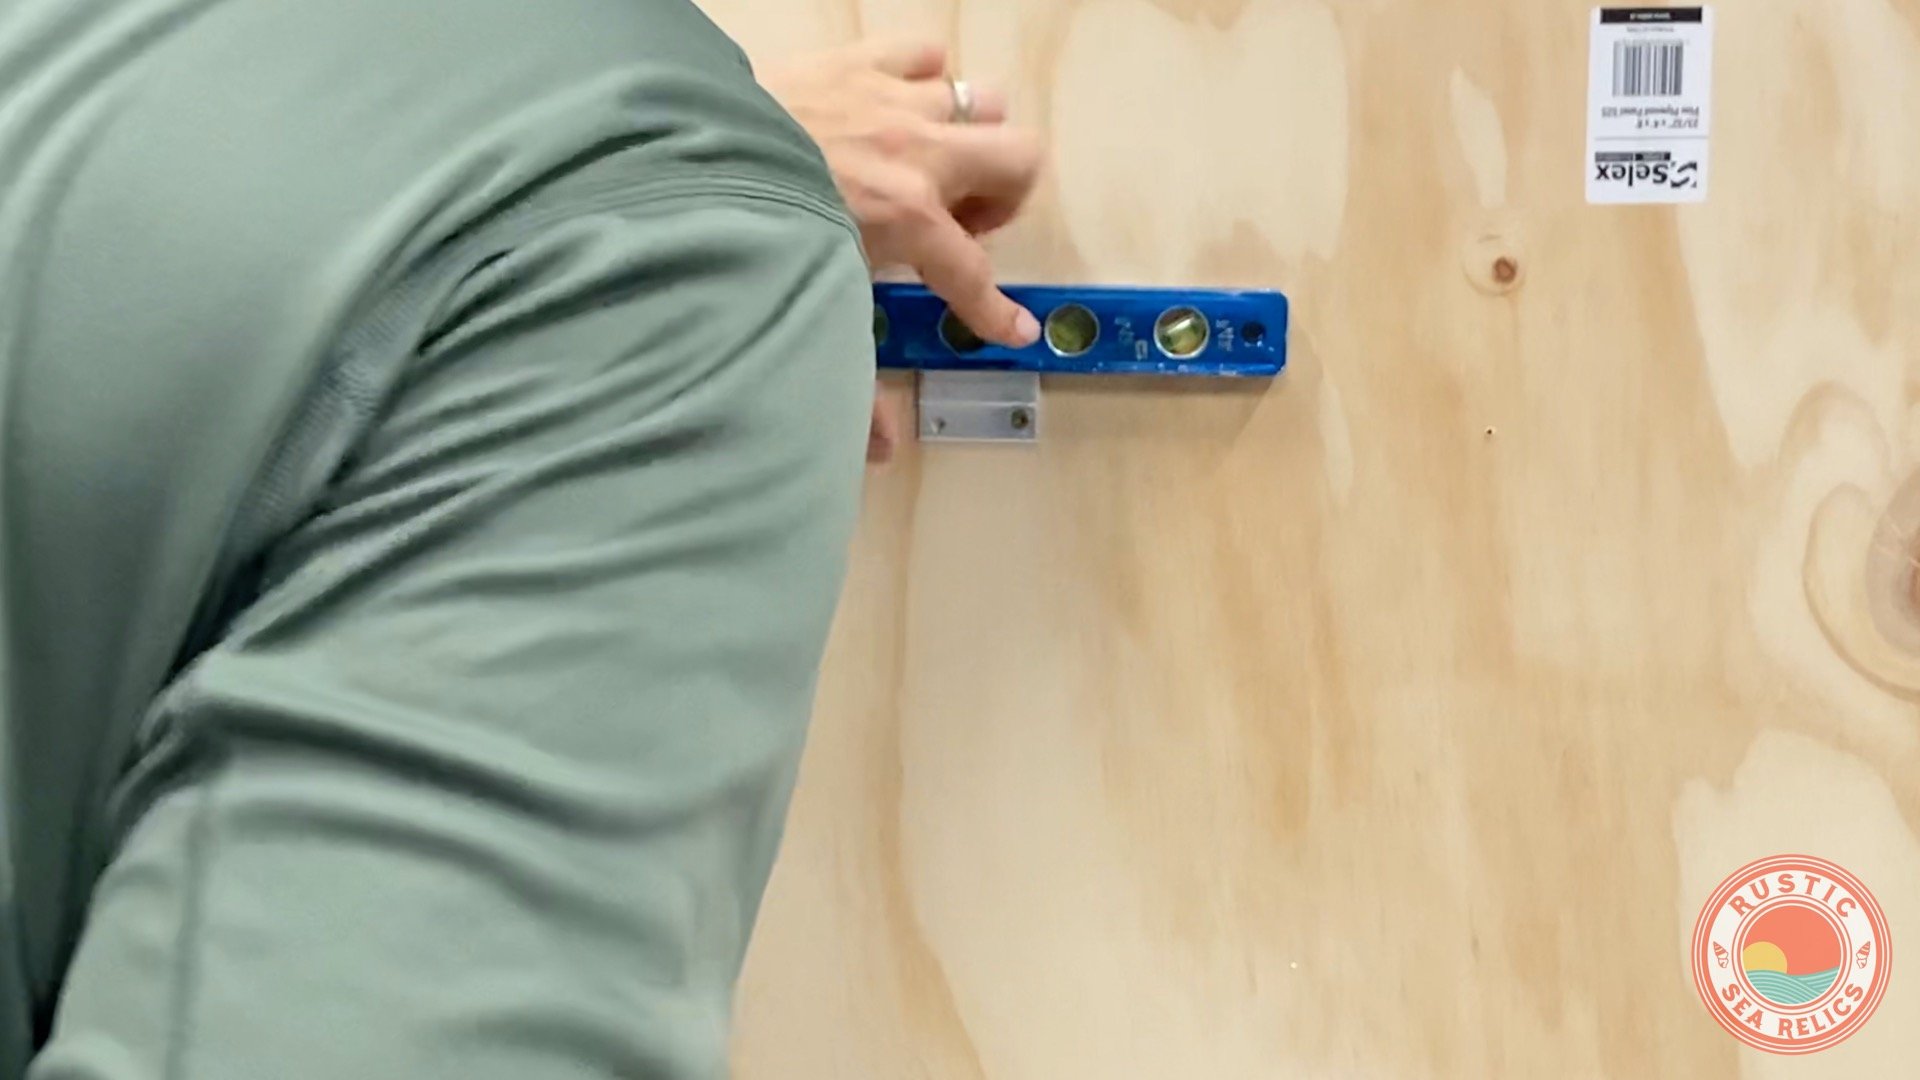
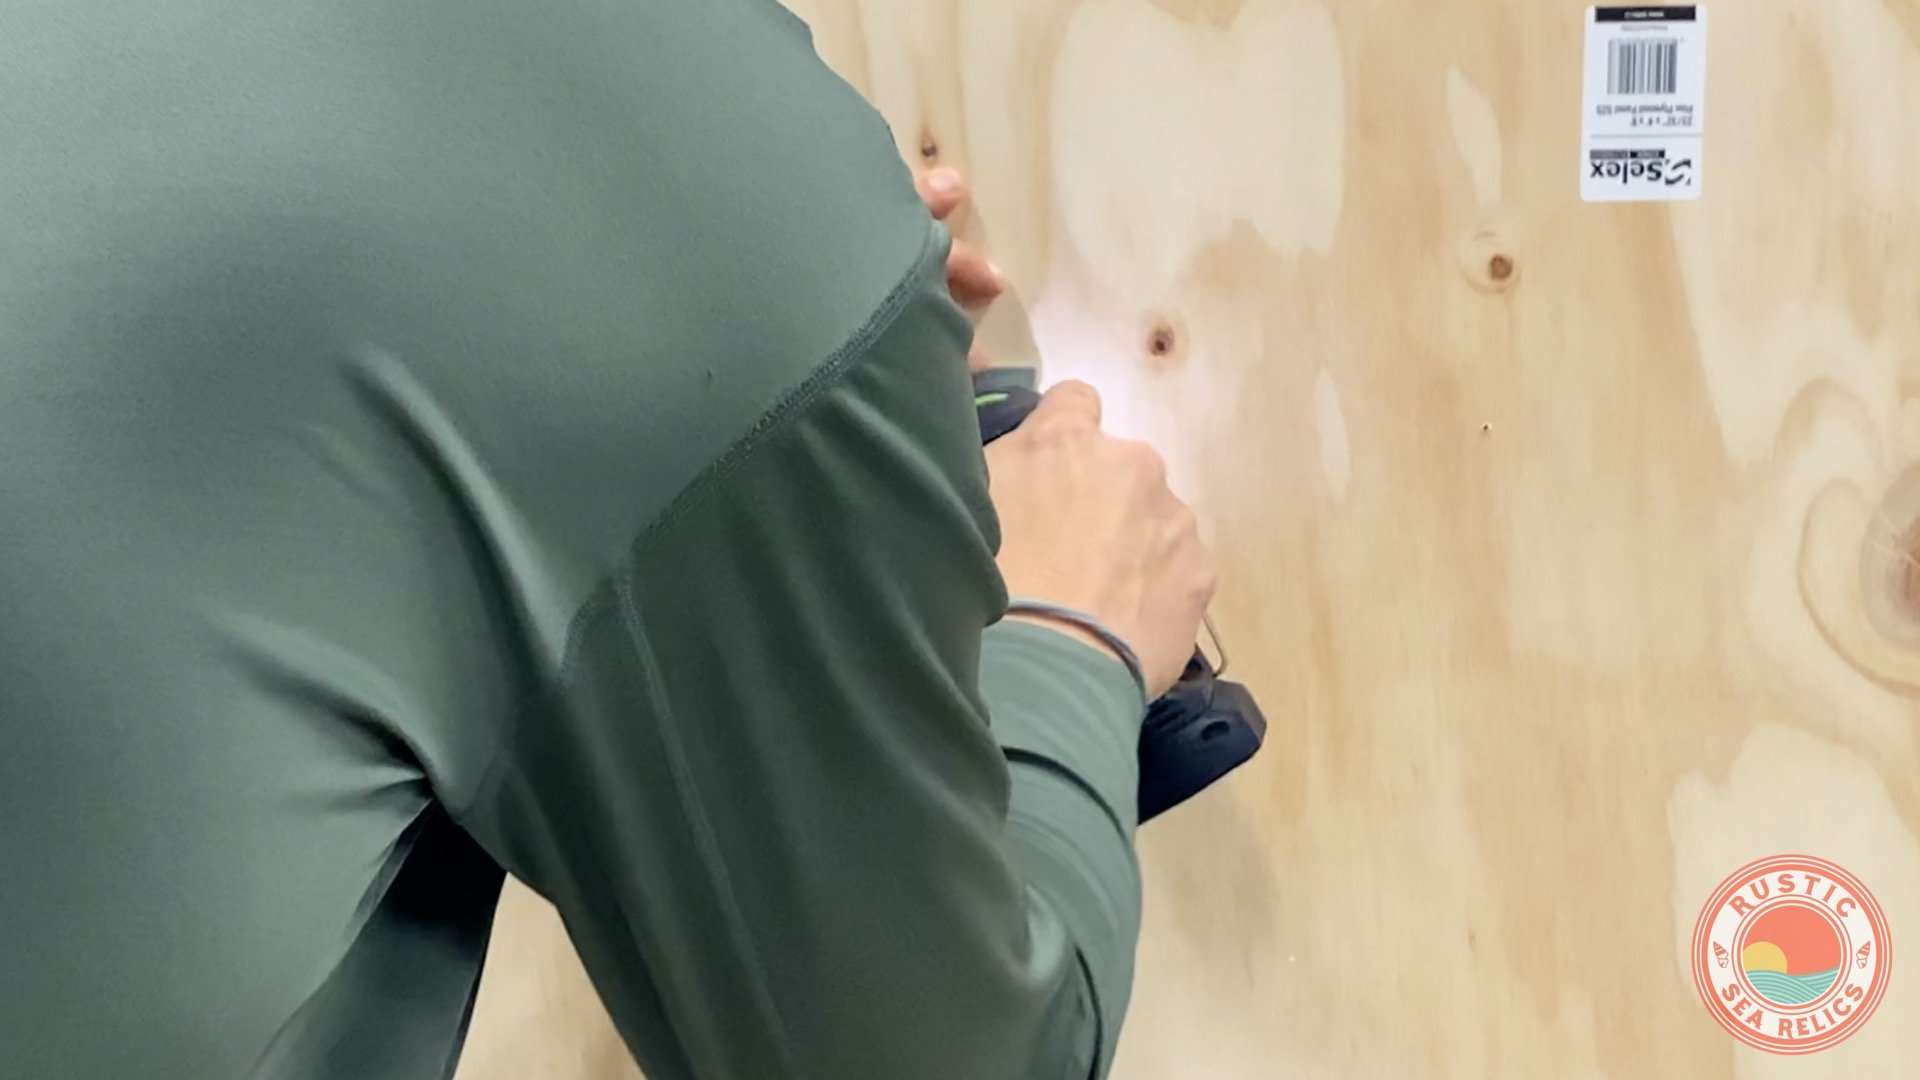
- Install Remaining Screws
Then, install the remaining screws and fully tighten the first screw.
- Mount Item on Wall
Place the item on the wall.

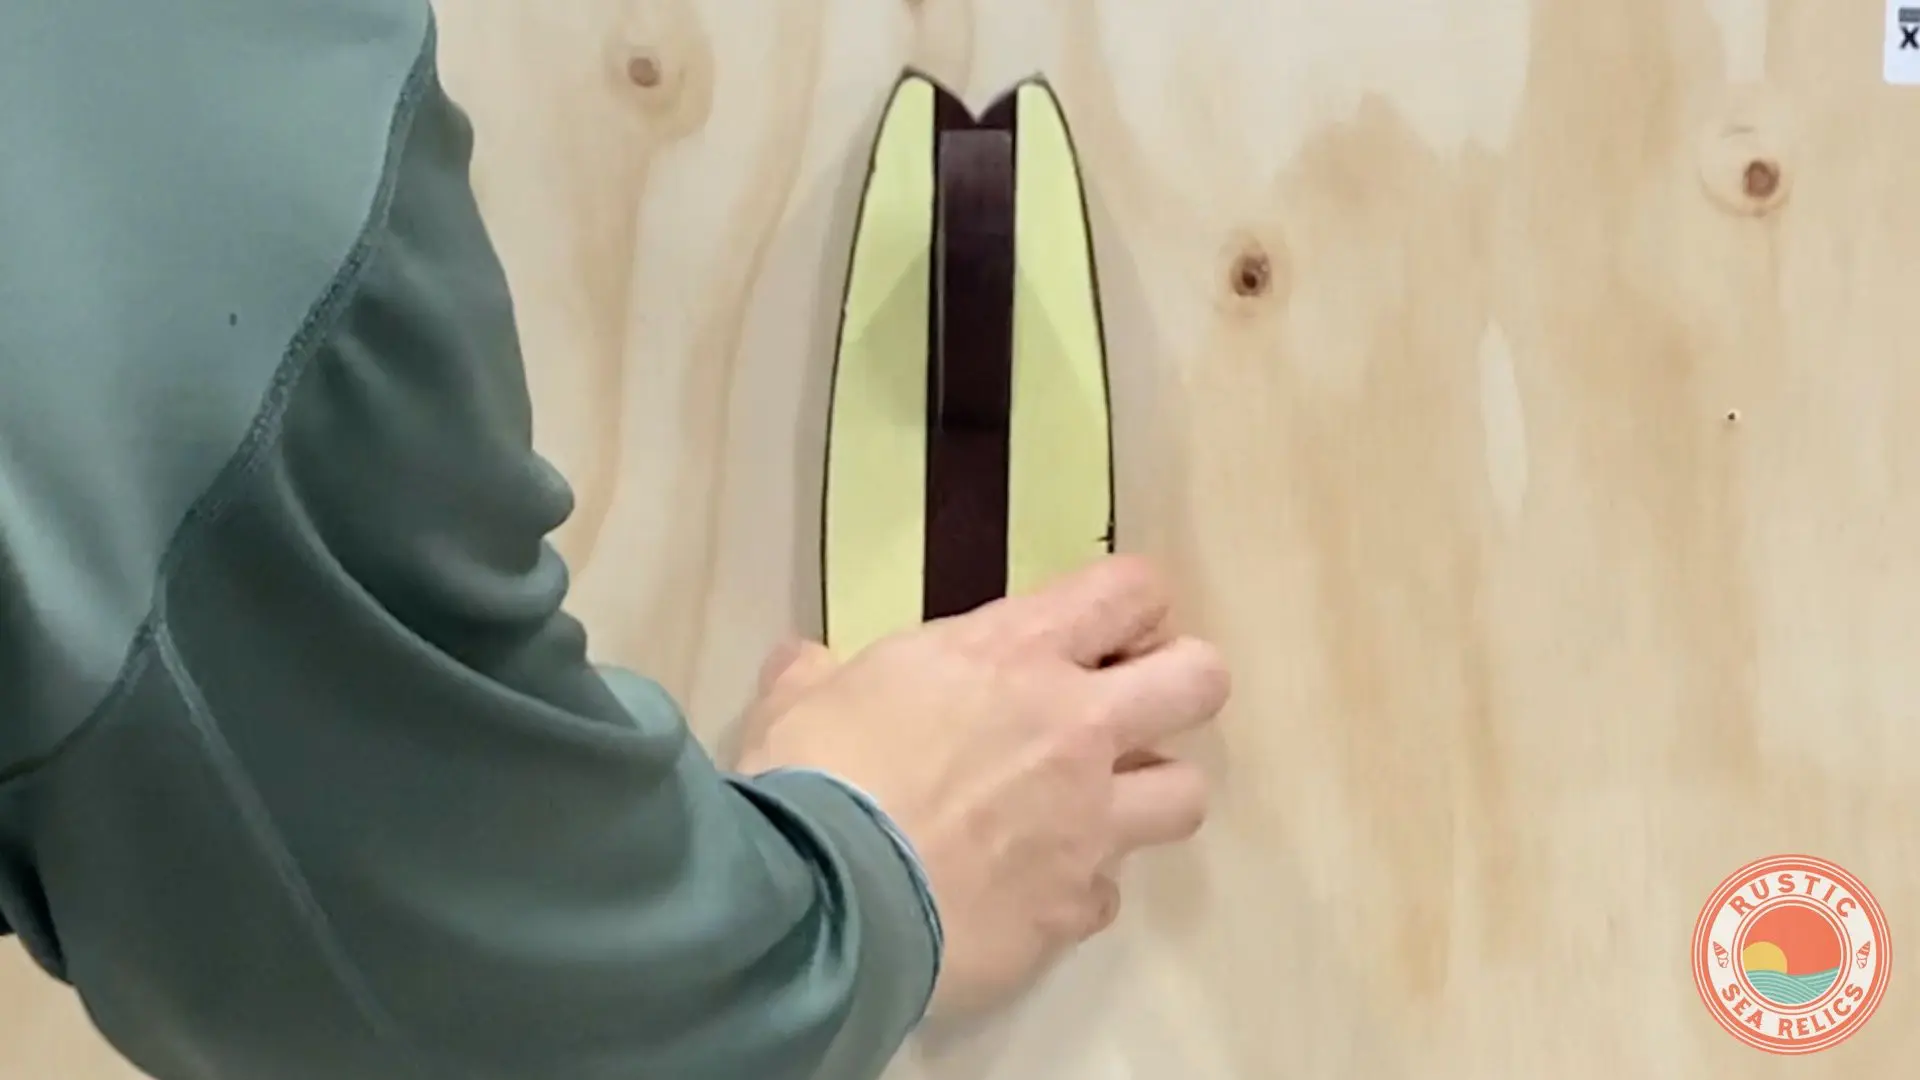
- Verify and Test
Verify the item sits flush and secure on the z clip.
Remove the item to make sure it can be easily removed and re-installed.
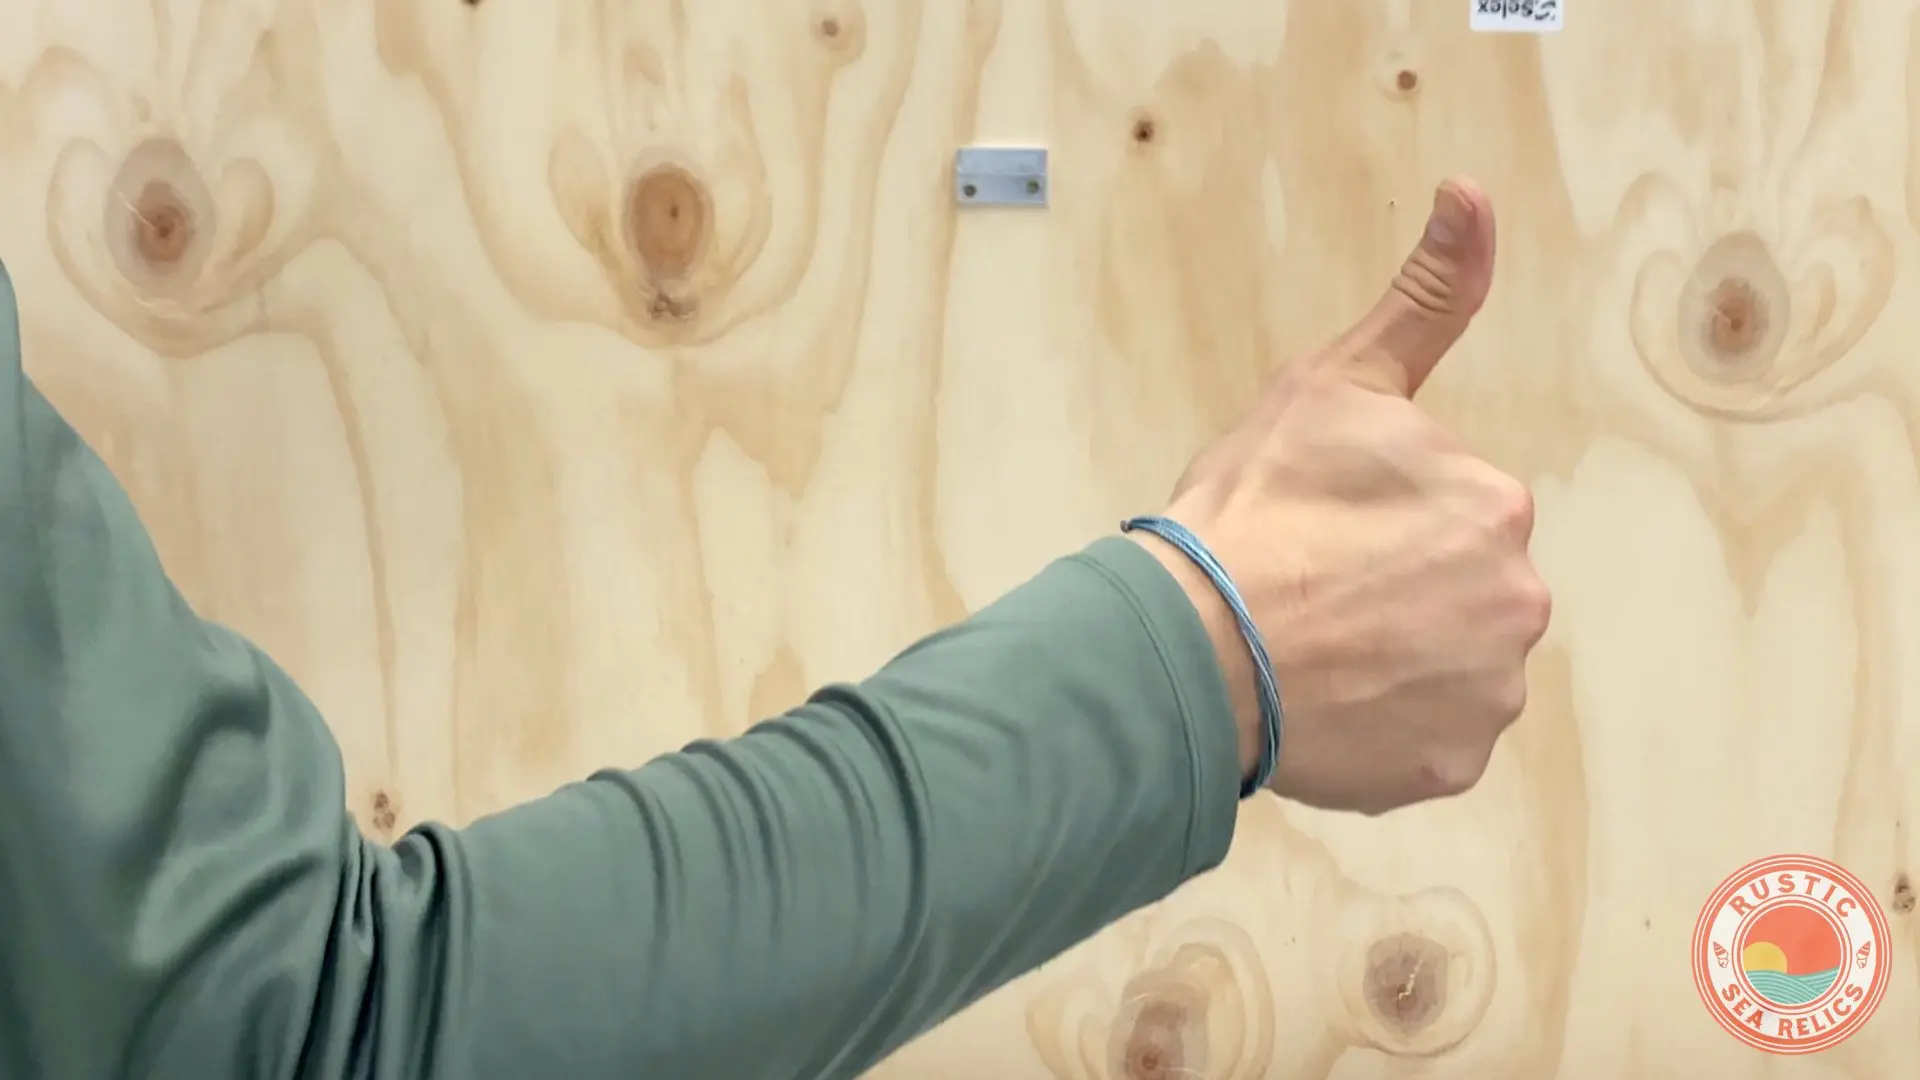
- Complete Installation
Finally, install the item on the wall and give yourself a pat on the back for a job well done.