
In this tutorial, you will learn everything you need to know about how to make resin ocean art. Get the woodworking and epoxy tips ocean artists use to get the best results.
With so many resin ocean art video tutorials out there, you are left with more questions than answers.
What materials do you need for resin art?
Which epoxy resin system to use for ocean art?
How to get the resin lacing effect for ocean waves?
Here are some jump links to the main sections of this post to help you find the information you need quickly.
Resin Ocean Art Supplies
Video Tutorial
Step-by-Step Instructions
Resin Ocean Art Supplies
Working with resin to create unique beach seascapes with ocean waves can be confusing when it comes to resin art supplies.
Hopefully, this list takes the guesswork out of finding and choosing the best resin art supplies.
Deep Pour EpoxyTable Top Epoxy
Sheathing Tape
Translucent Blue Dye
Blue Pigment Powder
Green Pigment Powder
White Dye
Isopropyl Alcohol
Heat Gun
Mixing Containers
Nitrile Gloves
Stir Stick
Track Saw
Rotary Sander
Vacuum for Sander
Sandpaper
Wood Finish
Finish Applicator Pad
Polishing Abrasive Pad
Leveler
French Cleat Wall Hanger
Drill
Drill Mixing Bit
Resin Ocean Art Video Tutorial
There are several things which are difficult to fully explain with words and images, so be sure to check out the video tutorial below.
Ocean Resin Art: Project Overview
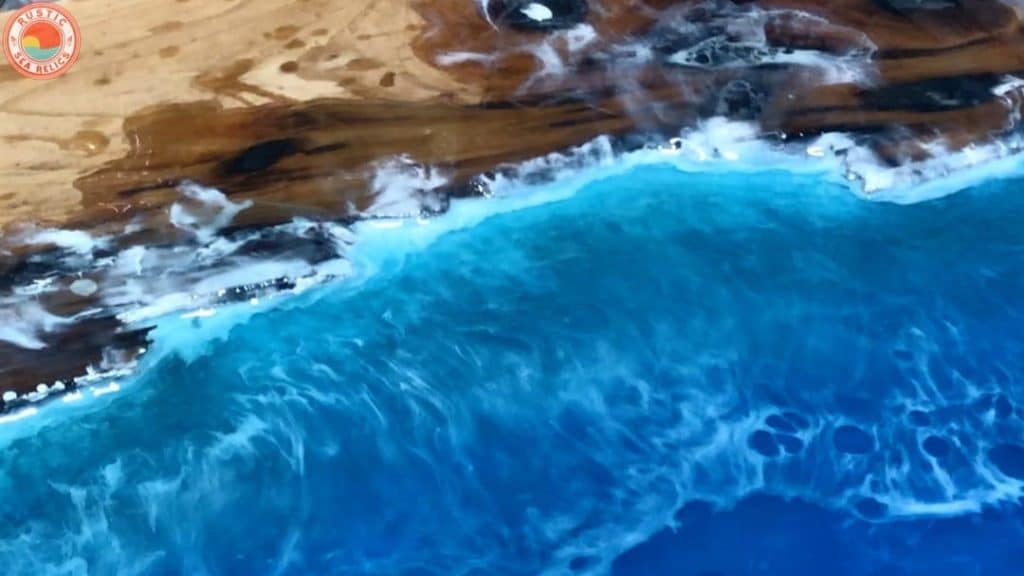
I made this large ocean wall art to resemble a beach scene in Hawaii.
The exact dimensions of this resin beach art are 60″ x 36″ x 1.25″ (Length x Width x Thickness).
Although my client lives in California, he is a native of Hawaii and wanted this ocean wall art to serve as a reminder of his favorite beach at home in his office.
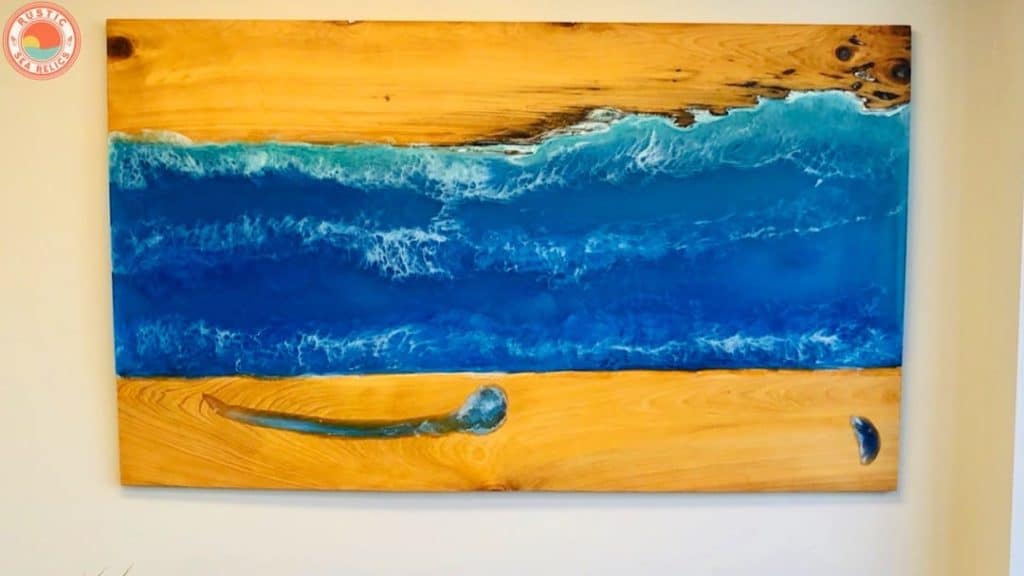

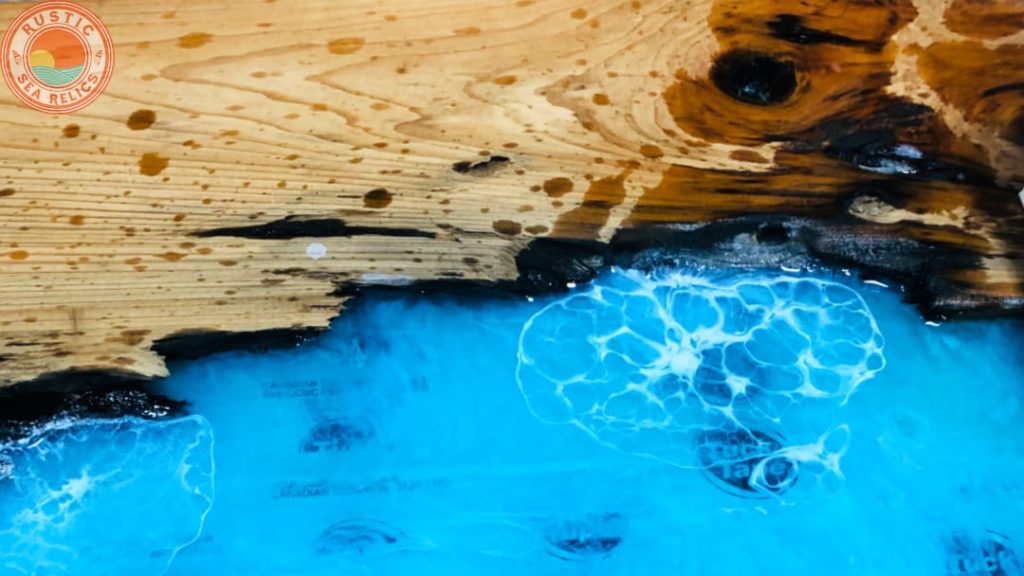
Instead of creating resin ocean art on wood or a resin painting on a canvas, I decided to create a resin ocean with 2 pieces of reclaimed wood on the top and bottom.
The 2 pieces of reclaimed wood matches the beach sand color.
In addition, the natural imperfections in the wood allowed me to create resin inlays and other unique resin ocean wave effects.
Resin Ocean Art Tutorial
Follow the step by step instruction below and start making your ocean resin art today!
Make a Large Epoxy Mold
As I mentioned previously, the dimensions of this large resin wood art are 60″ x 36″ x 1.25″ (L x W x Thickness).
So, I added 2″ to the length and width to determine the size needed for the bottom piece of the resin mold.
Essentially, the additional 2″ allows enough room to attach the sides and ends to enclose the tub.
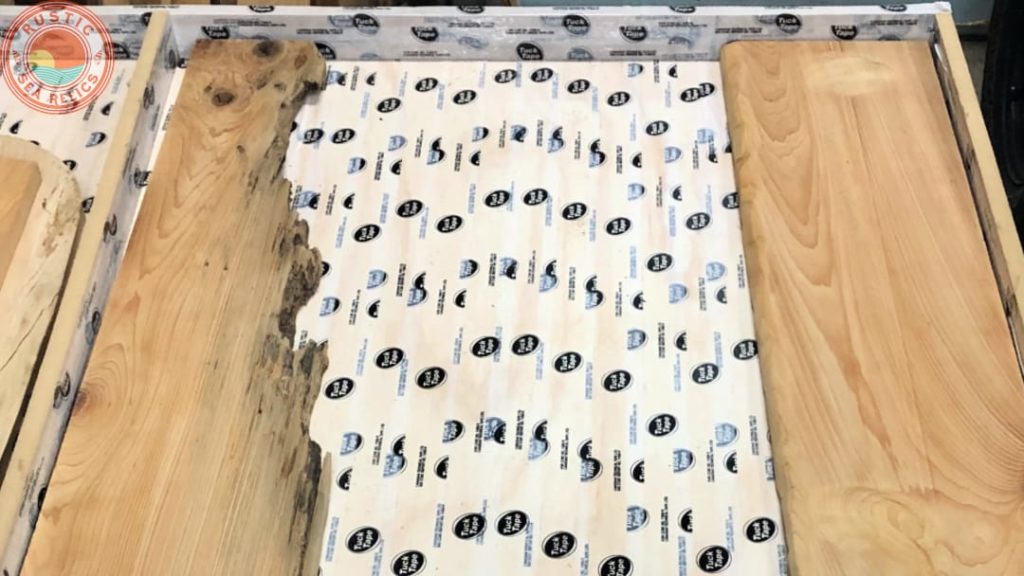
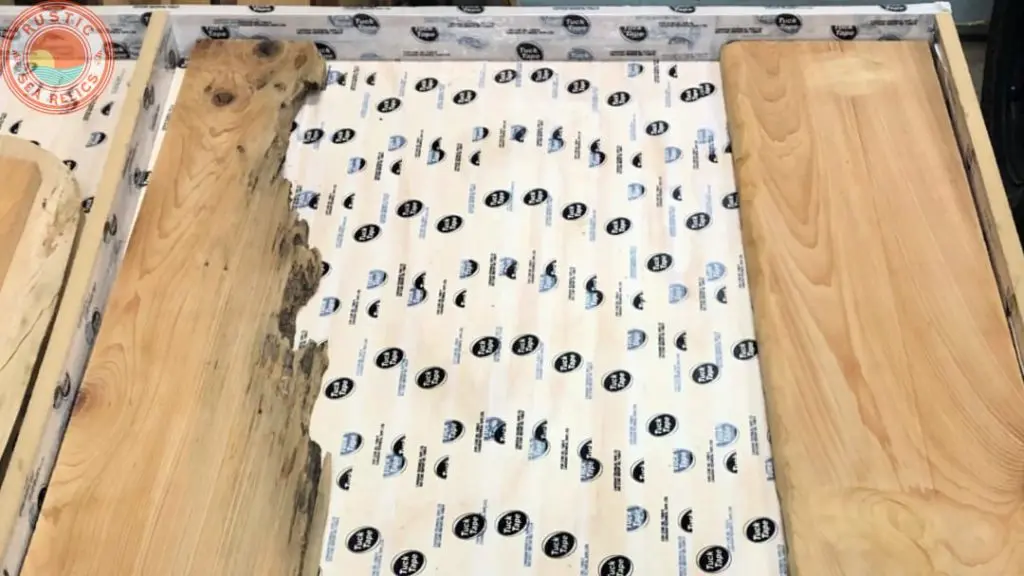
I cut a piece of 3/4″ MDF (plywood works as well) to 62″ x 38″.
I like using 3/4″ material with large resin molds because it prevents bending of the work surface.
Then, I covered the bottom piece of 3/4″ MDF with tuck tape.
Epoxy will not adhere to sheathing tape as it does to painter’s tape.
Next, I cut the sides and ends. The sides were 62″ x 1.5″ and the ends were 36.5″ x 1.5″.
Essentially, the sides and ends need to be slightly taller than the wood.
I secured the sides and ends with screws from the bottom.
I covered the sides with sheathing tape to seal the epoxy mold.
Finally, I applied a line of silicone down the length of each piece of wood and positioned them in the mold.
The silicone keeps the wood secured in place and prevents epoxy from leaking to the other side.
Wood and Resin Casting Epoxy
It is vitally important to choose the best epoxy resin for your project.
Since this project involves filling a large area with epoxy.
So, I used deep pour epoxy (aka casting resin) for the initial resin pour.
Deep pour epoxy has the following benefits:
- Low viscosity penetrates the wood fibers.
- Slow curing times promotes a stronger bond.
- Fewer epoxy pours.
- Easier mixing with drill instead of by hand.
In addition, I used table top epoxy for the 2nd and 3rd resin pours.
More on this later.
Mix Resin
Most deep pour epoxy requires a 2:1 mixing ratio.
In other words, 2 parts epoxy (Part A) to 1 part hardener (Part B).
I like to use 3 mixing containers. For smaller projects, I use 3 small cups.
Ultimately, 3 separate cups or containers helps prevent silly mistakes.
I used the first container for part A and the second container for part B.
Next, I poured the first and second containers into the third container.
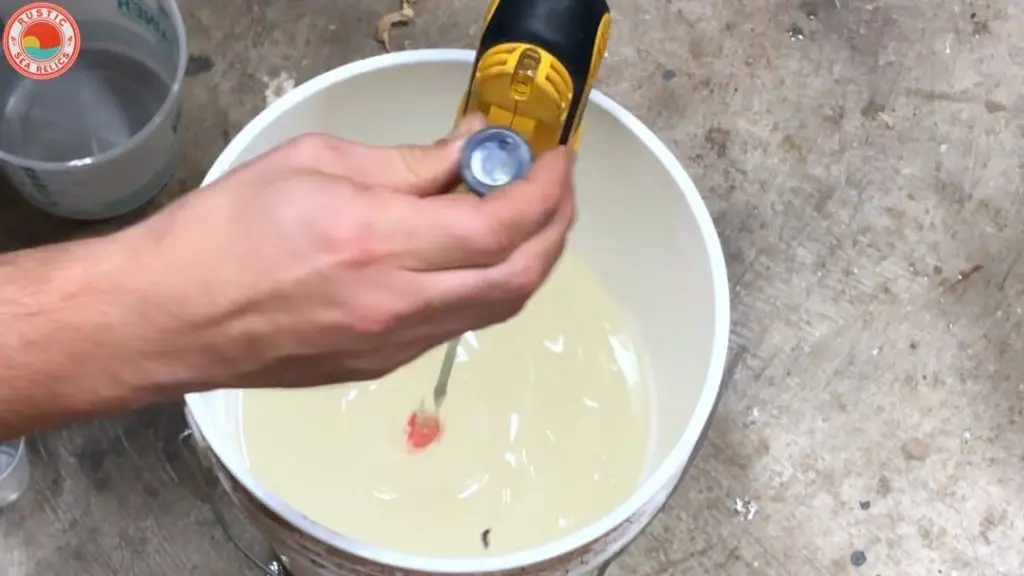
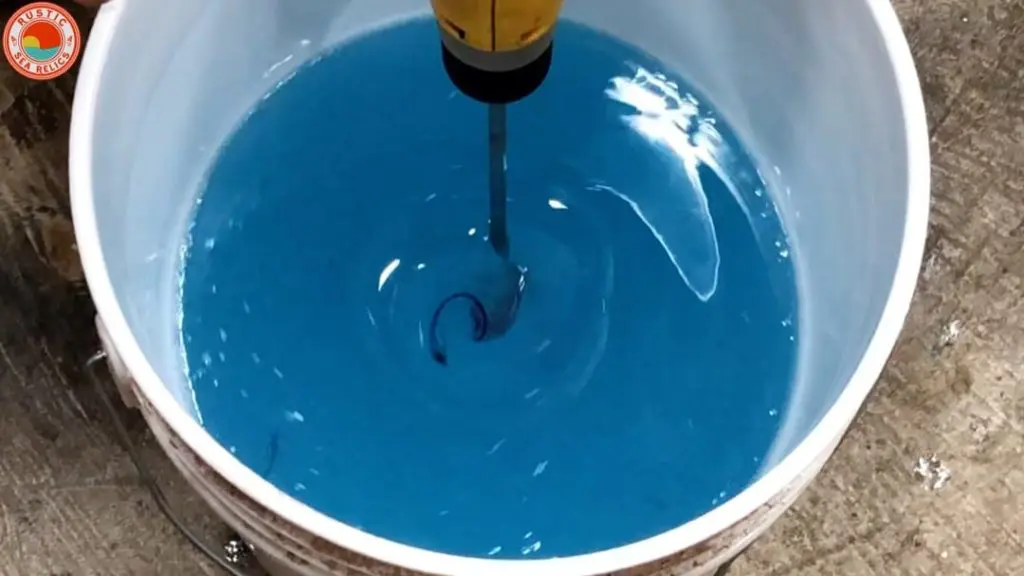
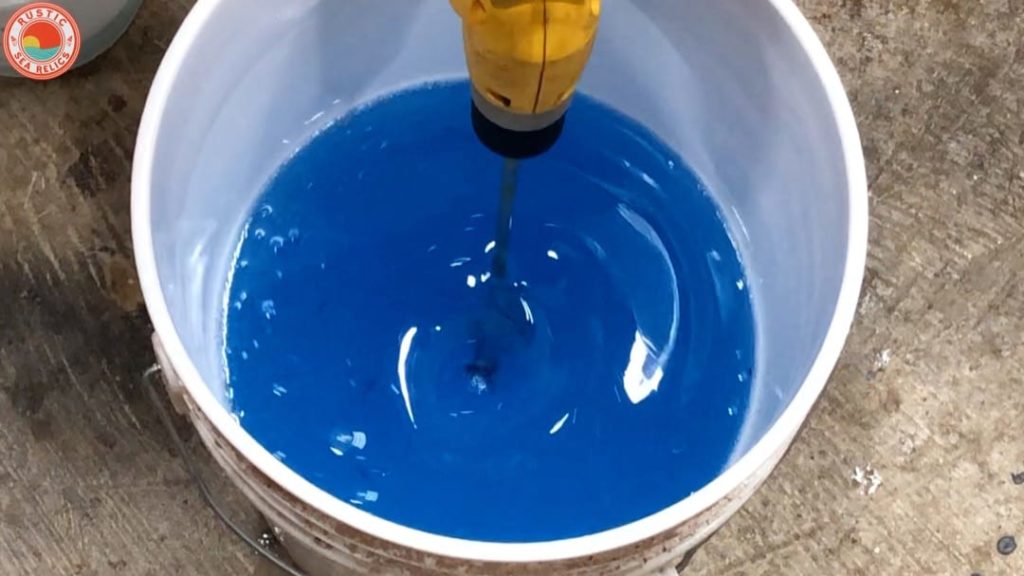
For the mixing process, I utilize a drill with a mixing bit to thoroughly mix resin.
Normally, the clear resin turns cloudy when mixing and turns to clear once mixed.
Keep in mind, only deep pour epoxy can be mixed with a drill bit.
The thick viscosity of table top epoxy doesn’t release air bubbles as easily as deep pour epoxy.
Since I plan to mix 2 colors, I poured a small amount of the epoxy resin in a small container.
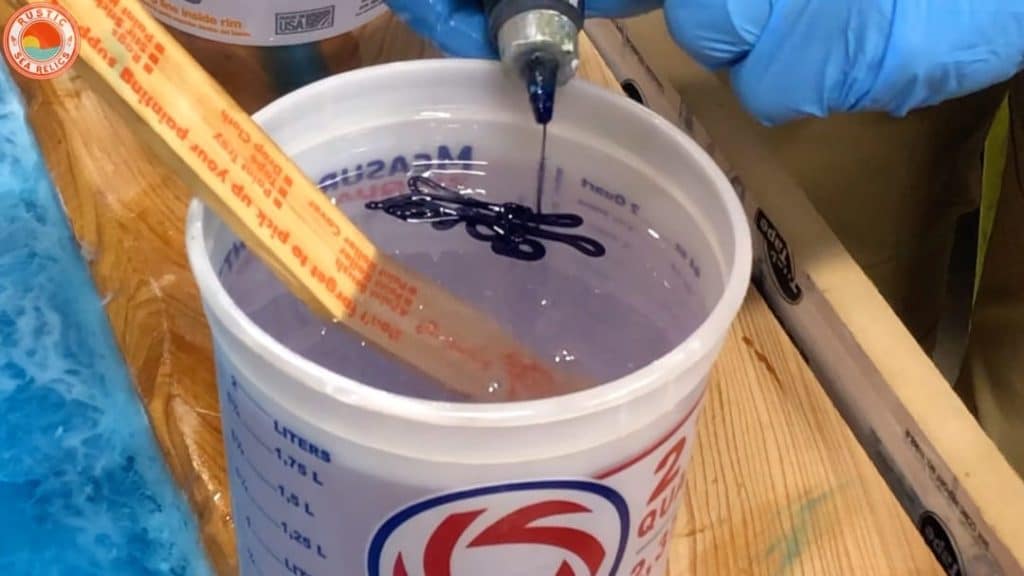
Add Resin Dye and Pigment Powder
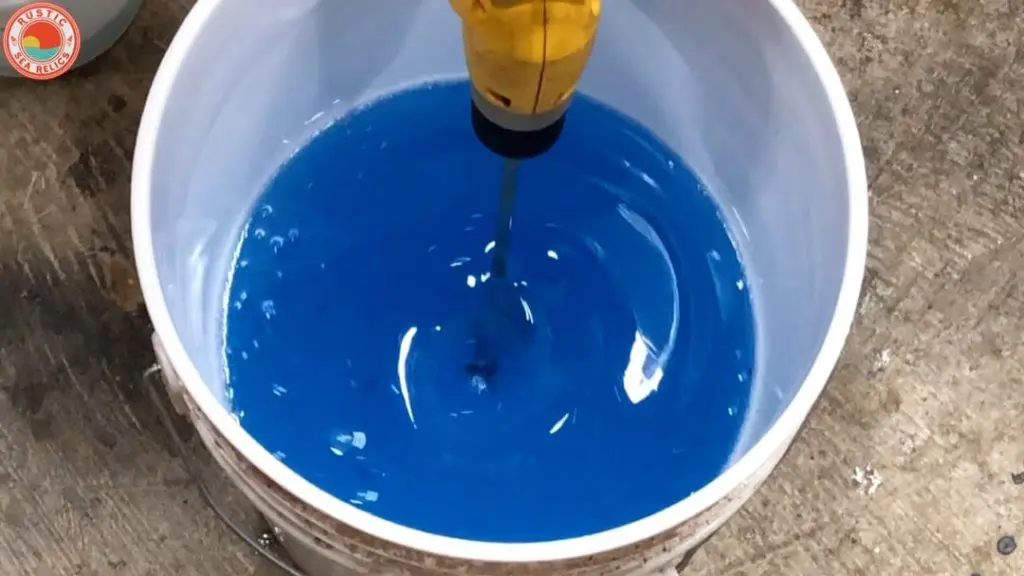
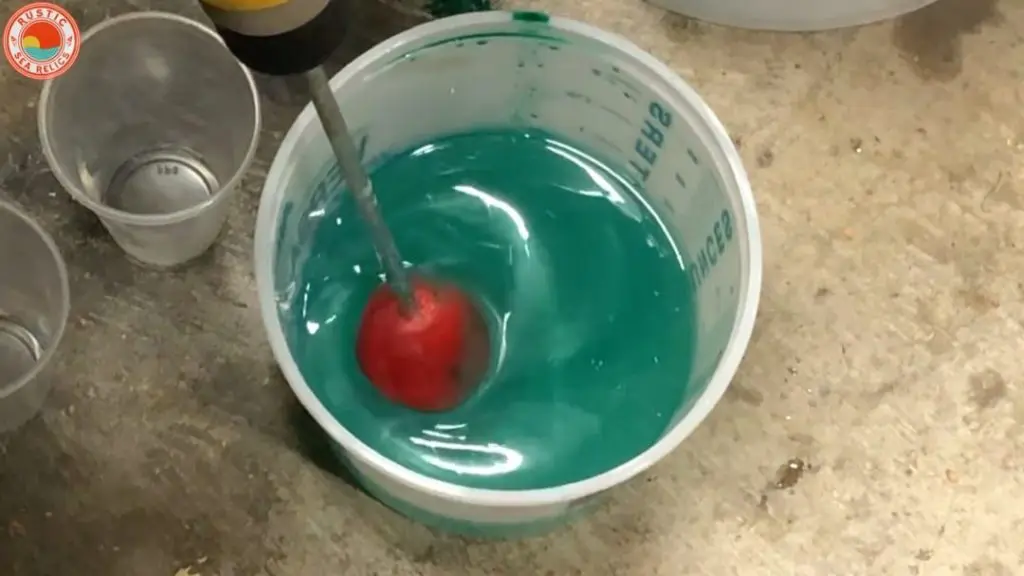
Next, I added translucent blue dye to the large container.

I mixed the material and added more dye until I achieved the shade of blue I wanted.

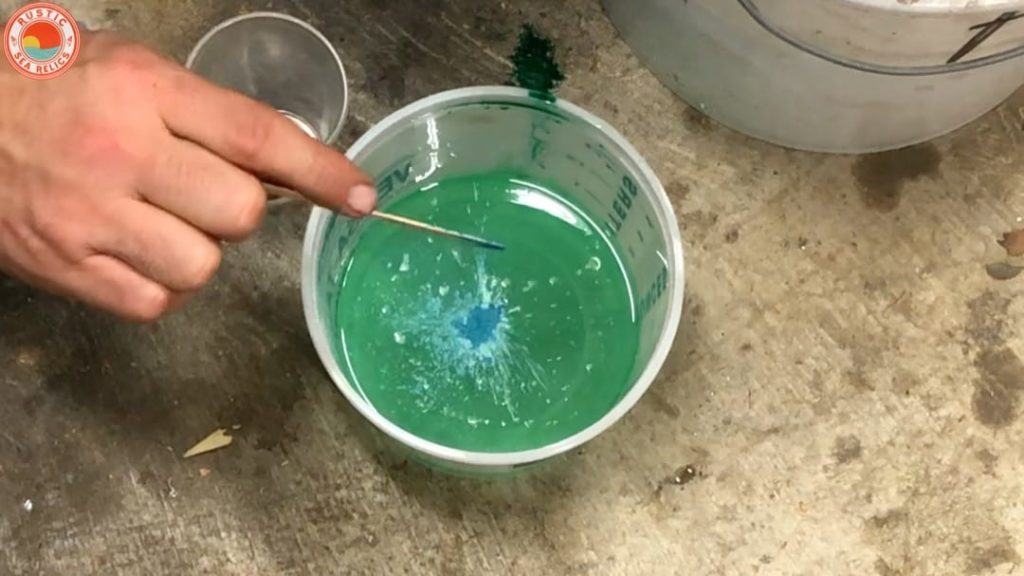
Then, I added green pigment powder to the second container.

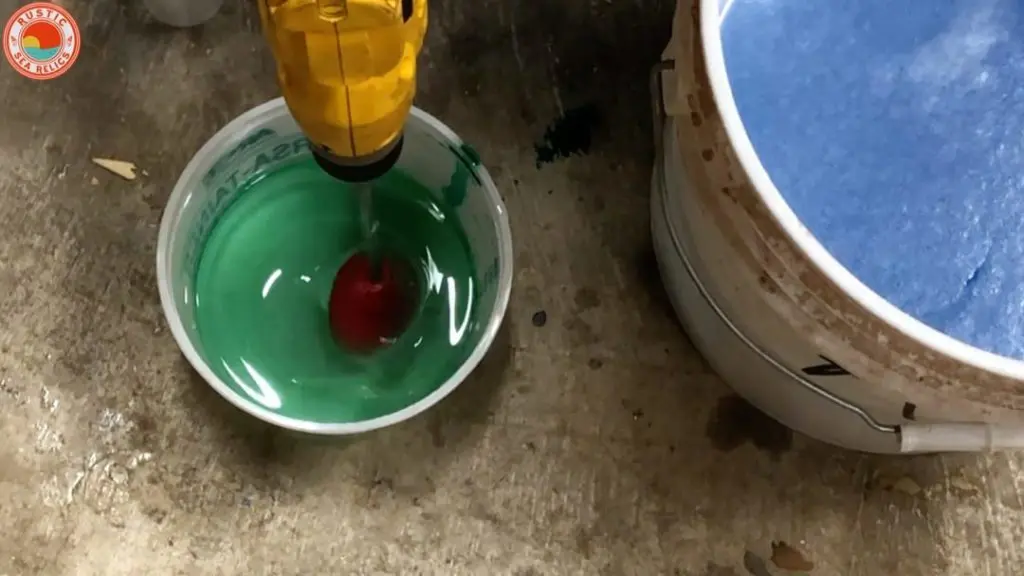
I decided the green needed a blue tint.
So, I added a small amount of blue pigment powder.
The green and blue epoxy will serve as the base color.


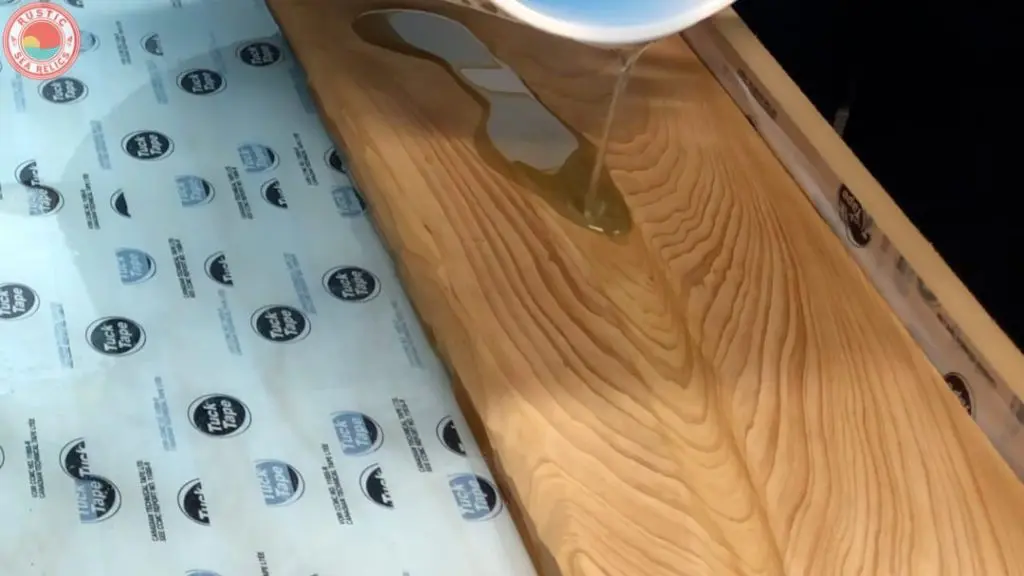
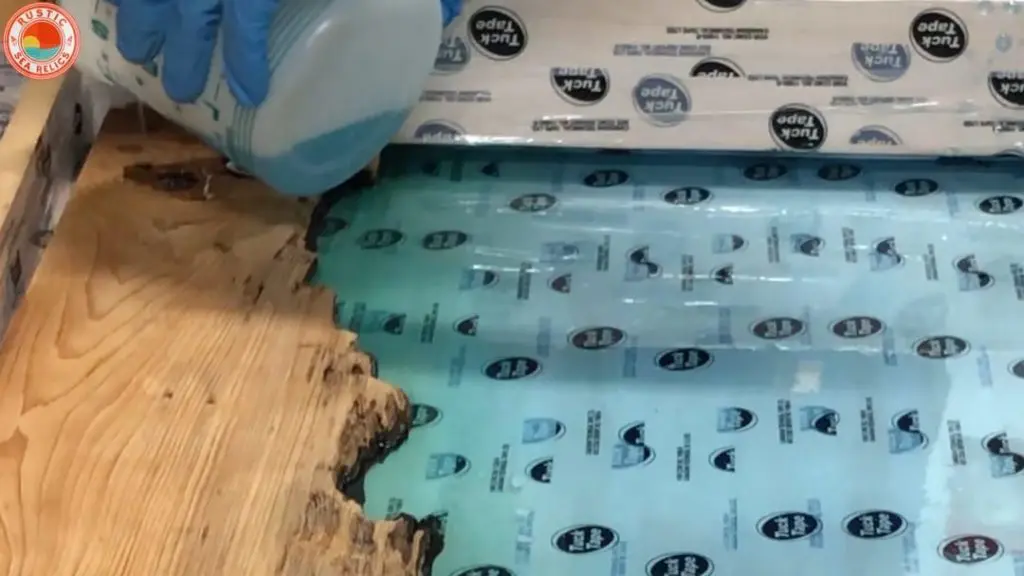
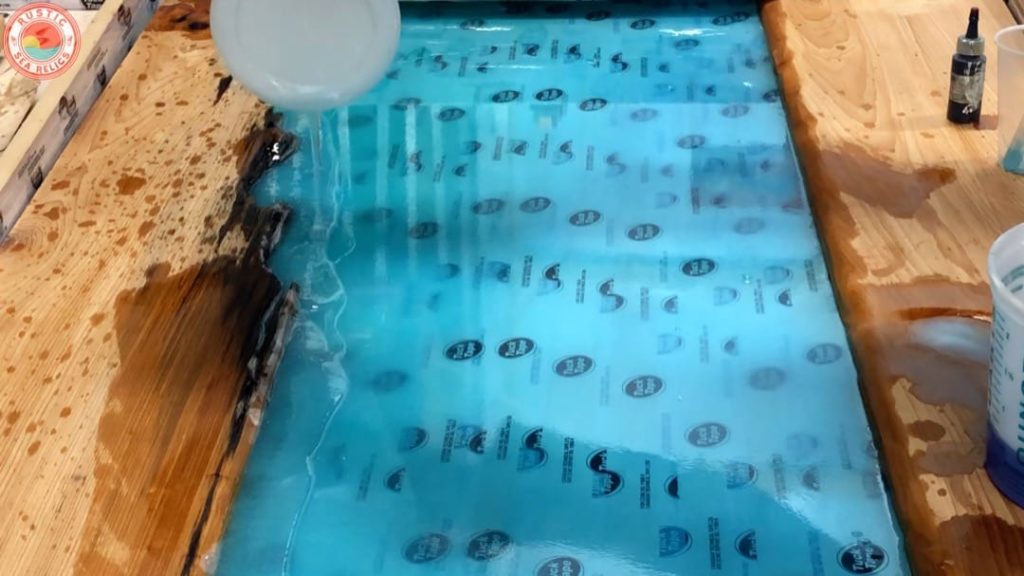
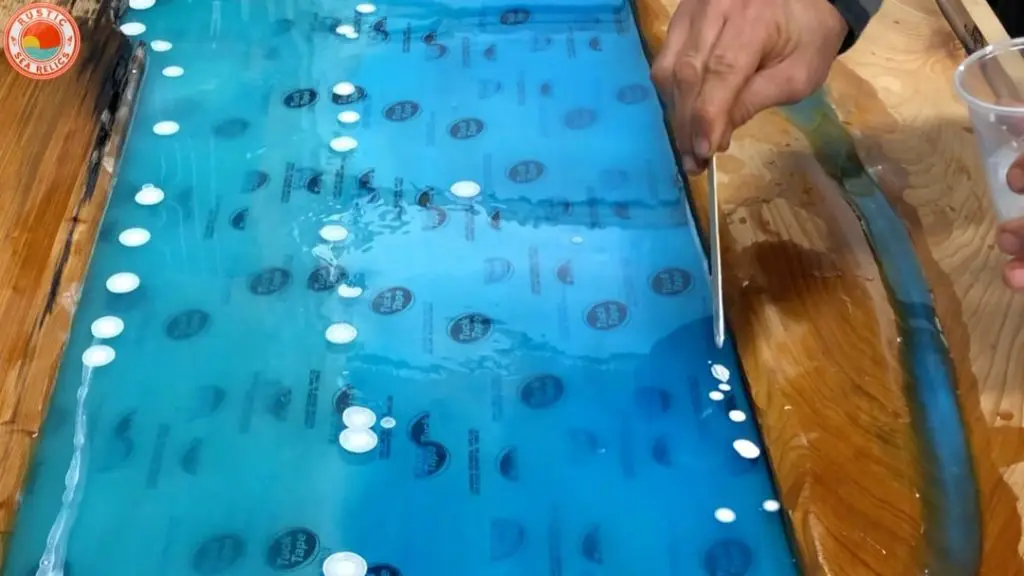
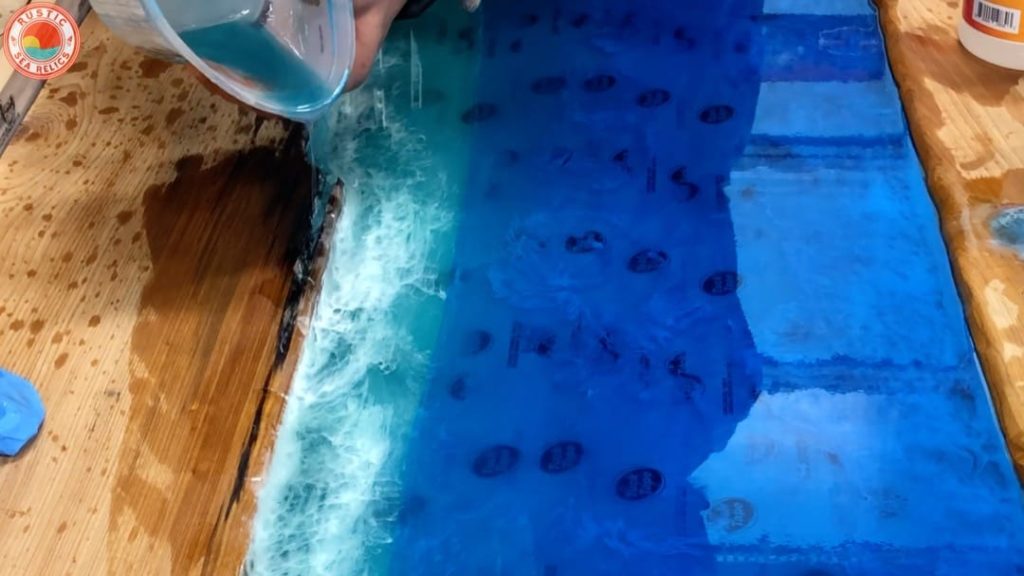
First Epoxy Pour
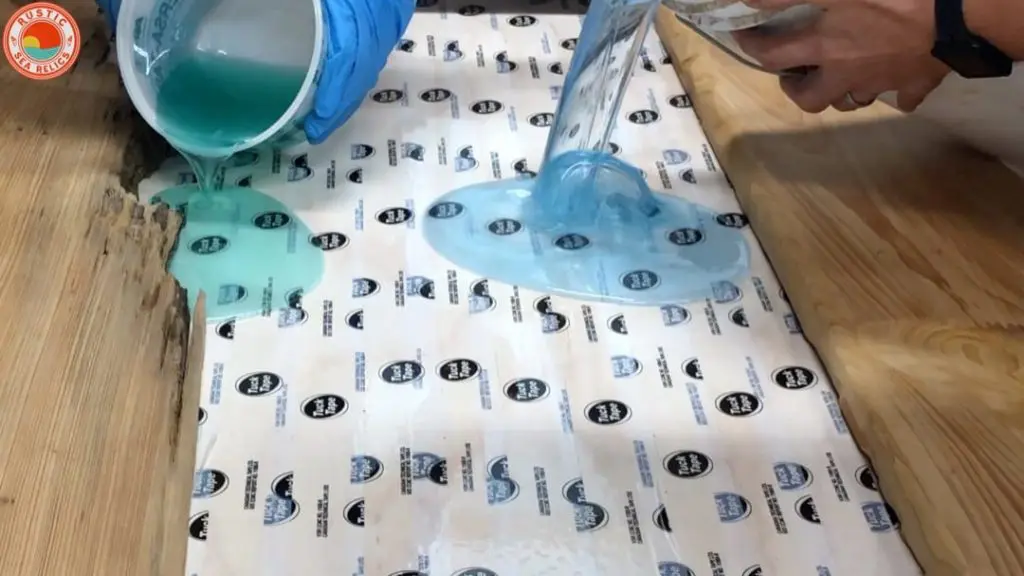
My son and I poured both containers over the entire surface at the same time.
Also, this pour filled .75″ of the total 1.25″.
The greenish/blue epoxy represents the ocean water near the beach.
The blue water represents deep ocean water.
Beach lovers are sure to appreciate these water colors.

Obviously, the blue epoxy will take up a larger part of the ocean themed wall art than the green.
The different shades of green and blue provide a gradient effect.

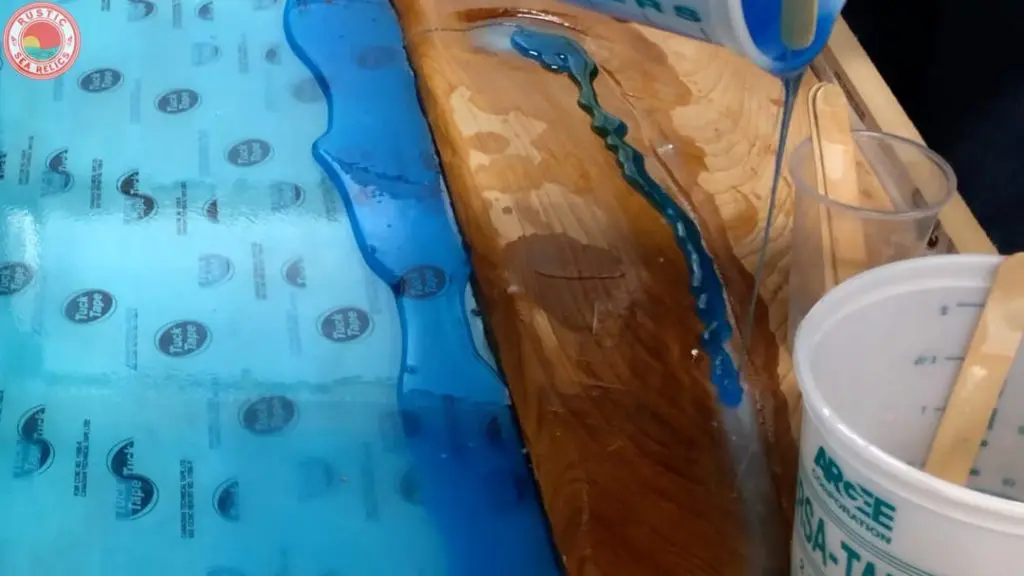
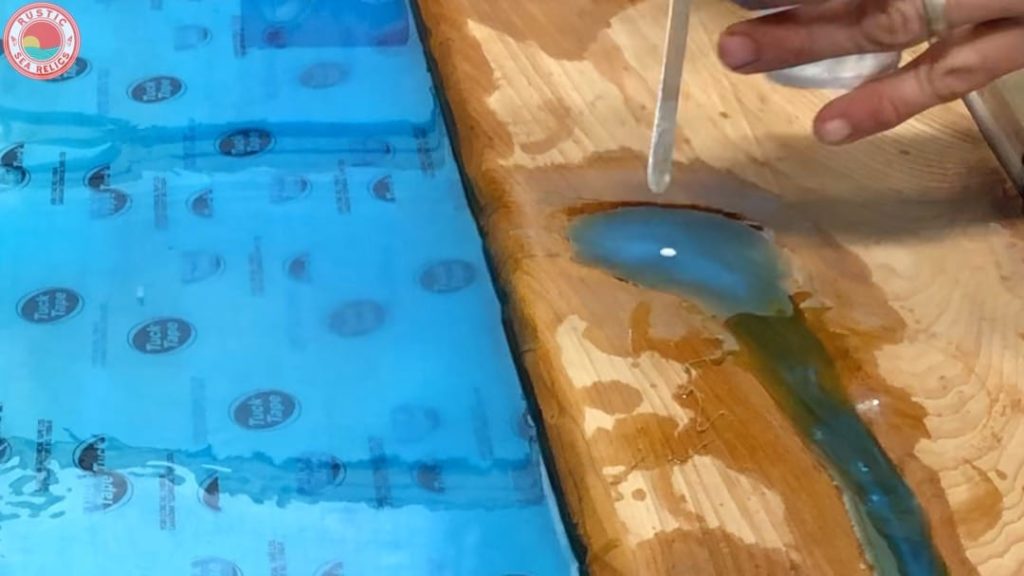
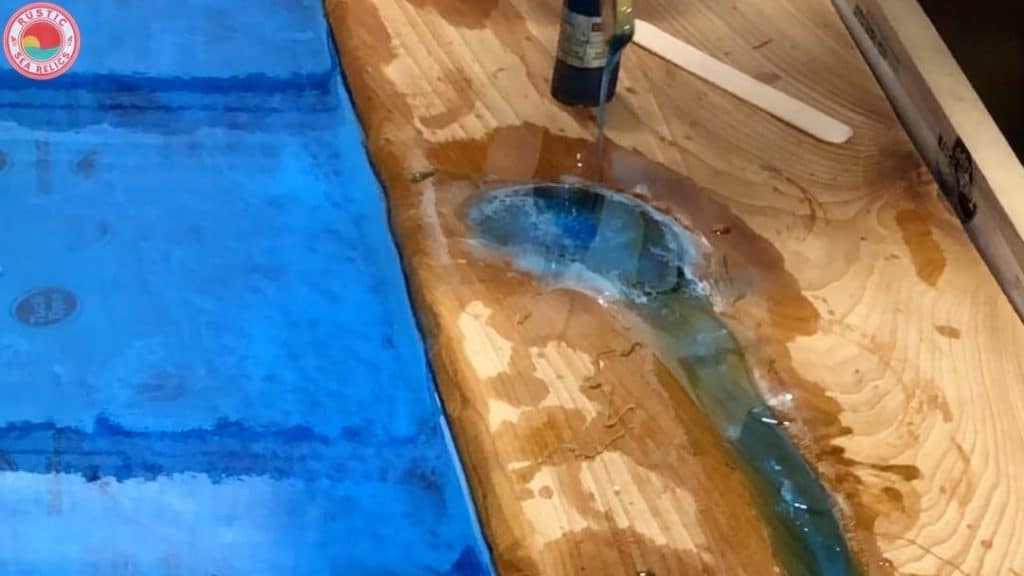
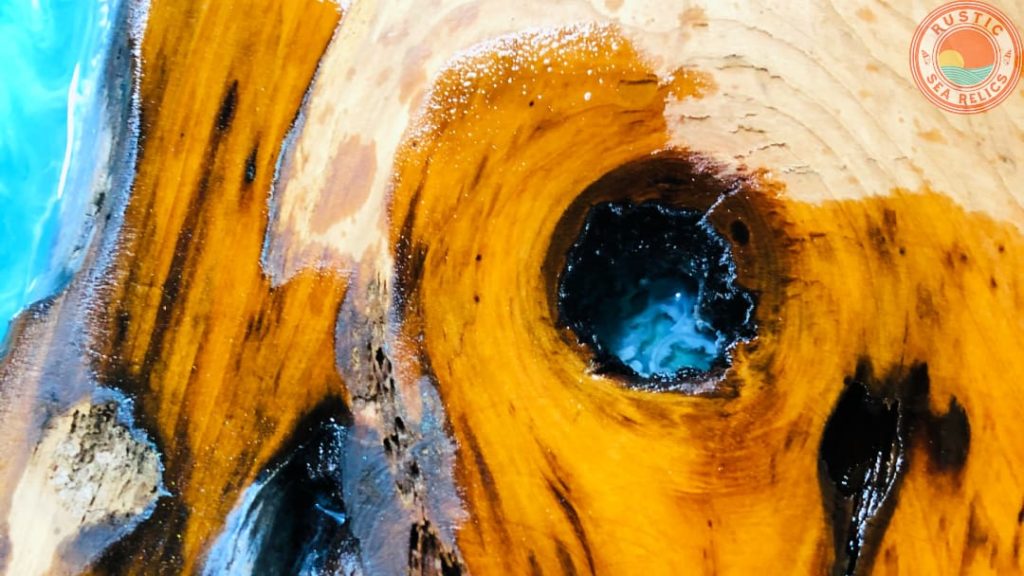
As I mentioned, this reclaimed sinker cypress wood contained many imperfections.
So, I filled wood voids with epoxy to strengthen the wood and add character to the piece.
More on this later in this ocean art tutorial.


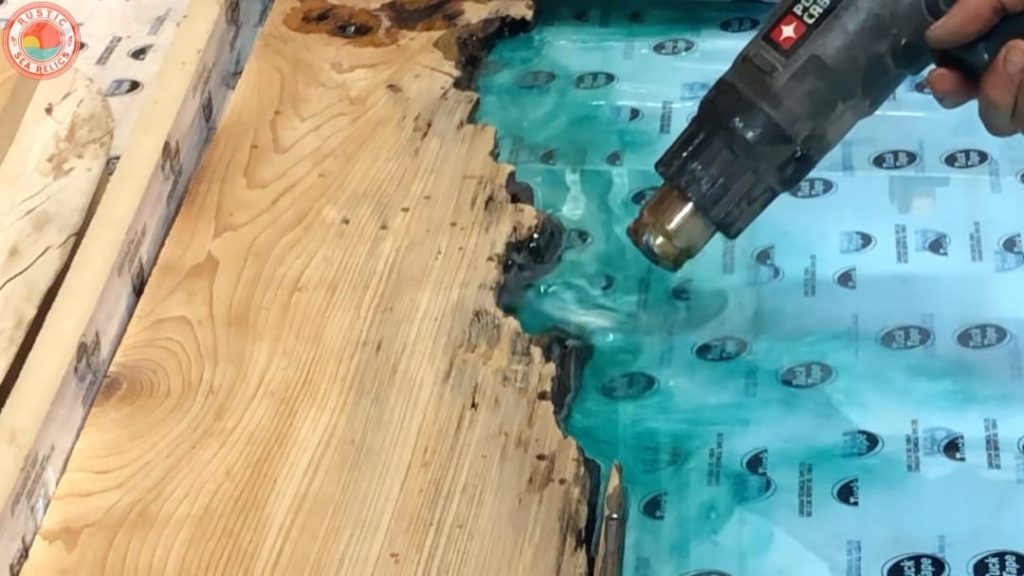
Finally, I used my heat gun to blend the blue and green epoxy.
Remember, deep pour epoxy releases air bubbles without needing a heat gun or torch.

Second Epoxy Resin Pour
After the first layer partially dried for roughly 48 hours, I started the second pour for this ocean resin wood art.
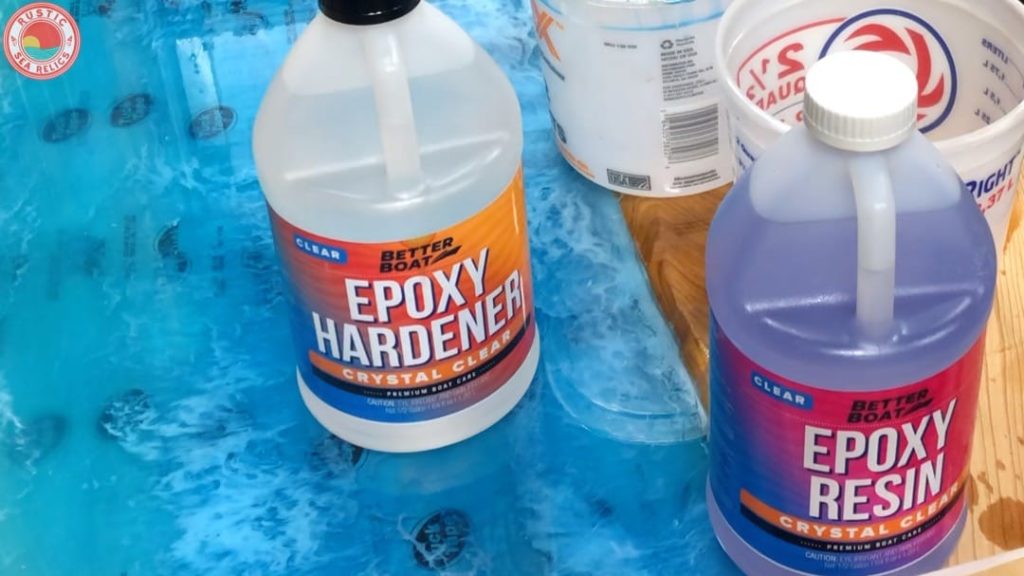
I used better boat table top epoxy for this pour and the final resin pour.
Again, table top epoxy requires a 1:1 mixing ratio. In other words, equal parts A and B.
Table top epoxy worked well for these pours as it only required shallow pours of .25″.
Also, the curing time of table top epoxy ranges from 12 to 24 hours.

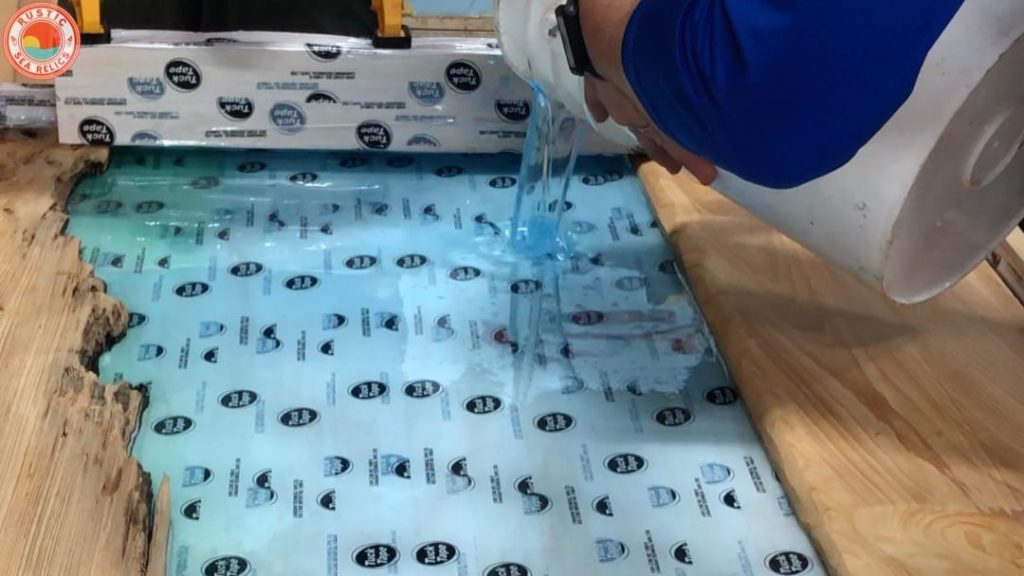
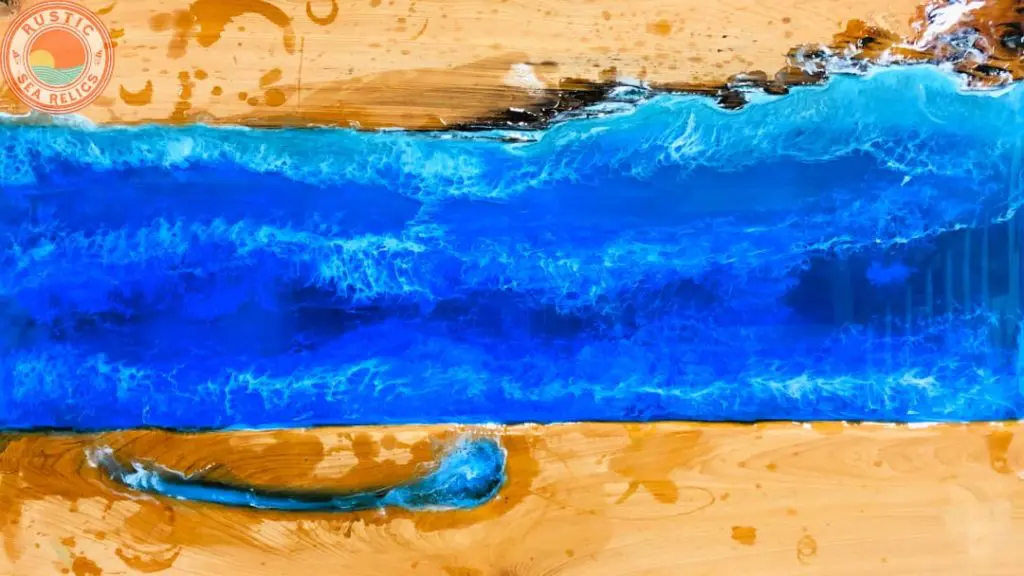
First, I poured clear epoxy over the green on the beach side of the resin ocean art piece.

Next, I poured blue resin on the other side of the ocean art.
In addition, I made the blue a bit darker than the first pour.
As a side note, wood and resin art is forgiving.
In turn, feel free to make adjustments and follow your artistic instincts.


Then, I used my heat gun to move the resin and remove air bubbles.
Use a hair dryer if you don’t have a heat gun.
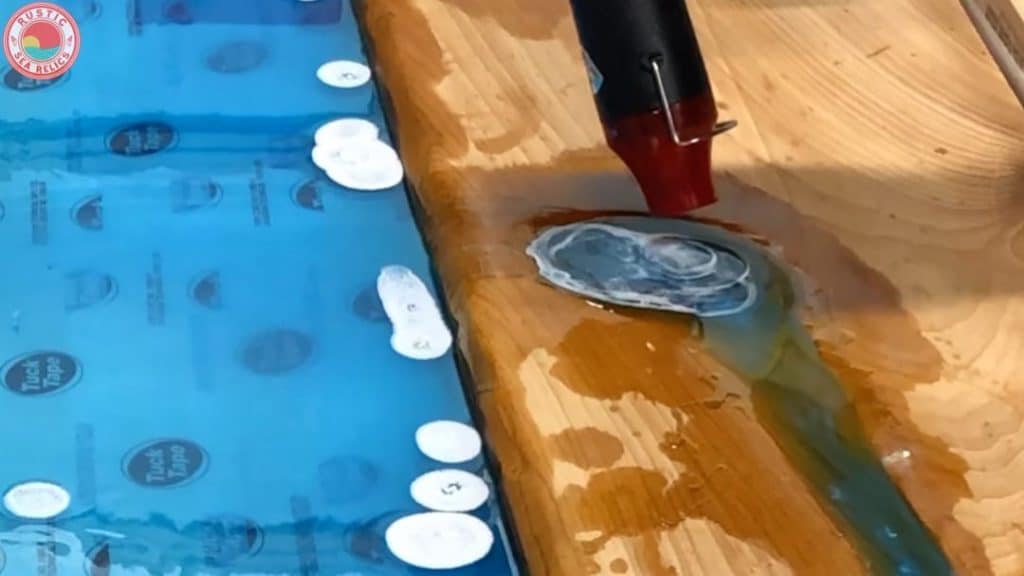
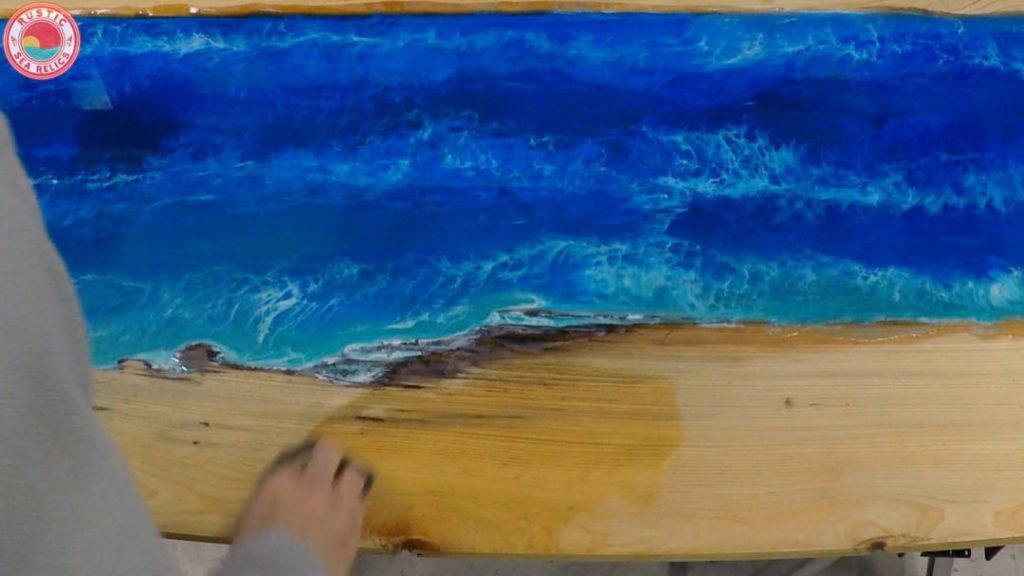
How to Make Resin Ocean Waves
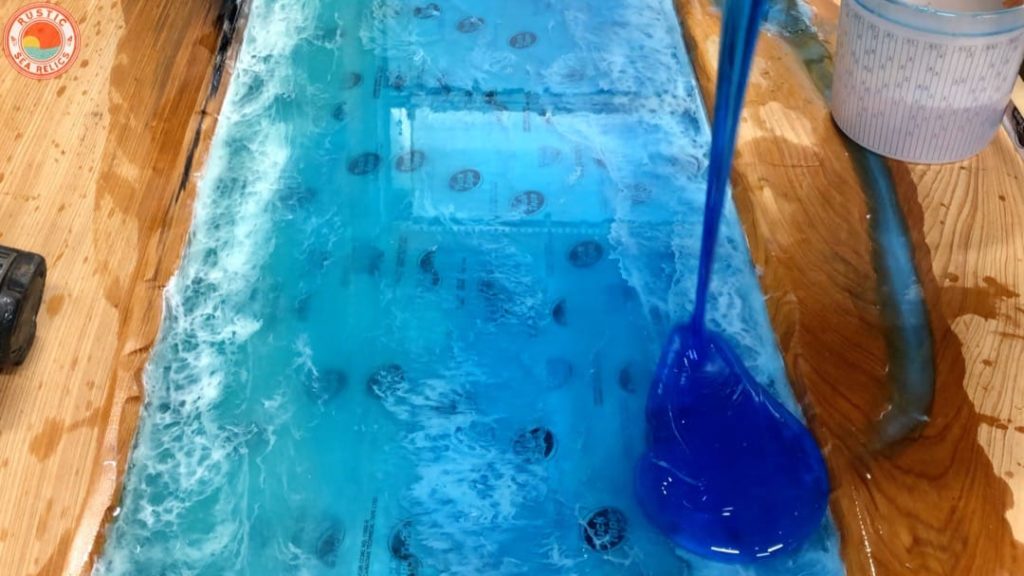
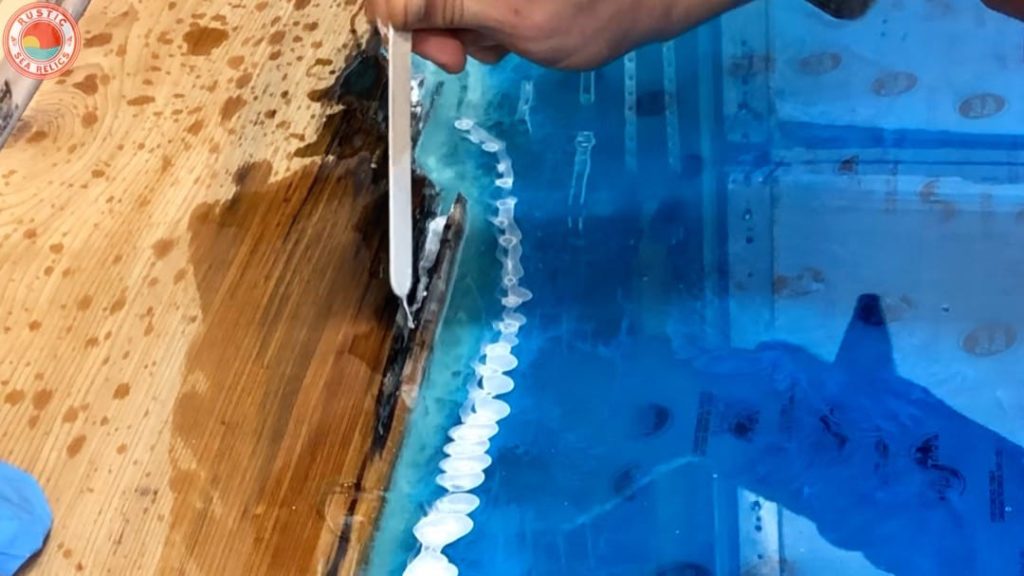
After the layers of resin, I mixed a small amount of epoxy with white pigment to make resin ocean waves.
Pigment powders work better than dye for opaque (non-translucent) colors.
Next, I spread the epoxy with white dye using a mixing stick near the beach side and on top of the wood voids I filled with epoxy.
Also, I spread the white epoxy in the middle and the ocean side of the resin seascape.
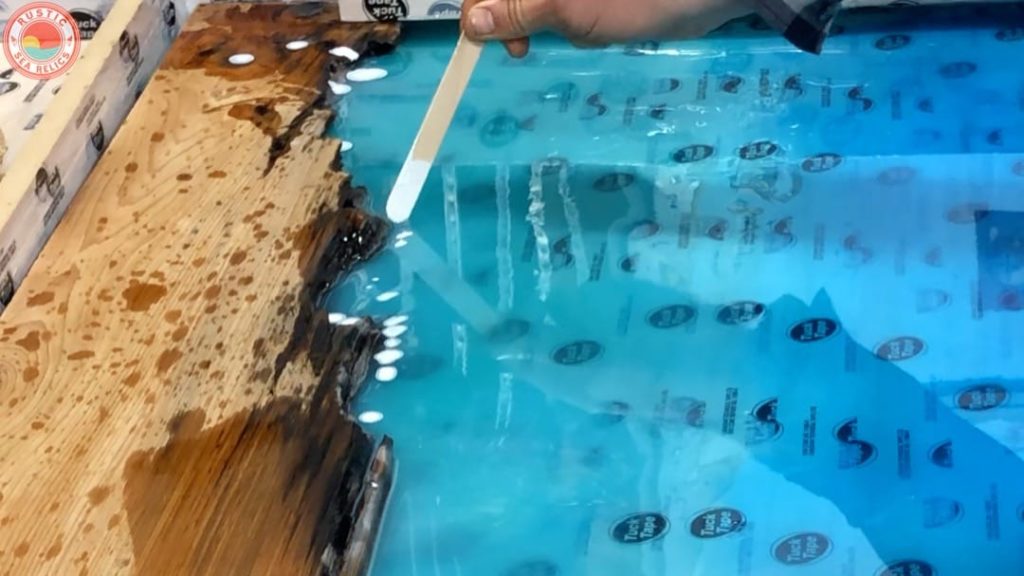


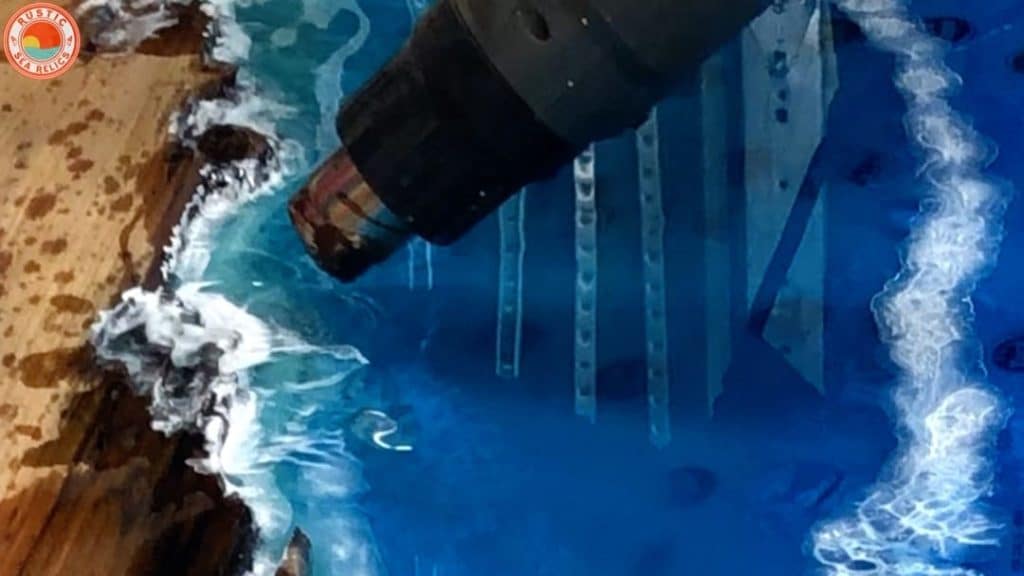
Then, I used my heat gun to create resin ocean waves.
I simply moved the resin with the heat gun until it spread out.
As a quick tip, don’t move the white resin waves too much as it will blend with the blue.
Less is more when making resin ocean waves.
Less is more when making resin ocean waves.

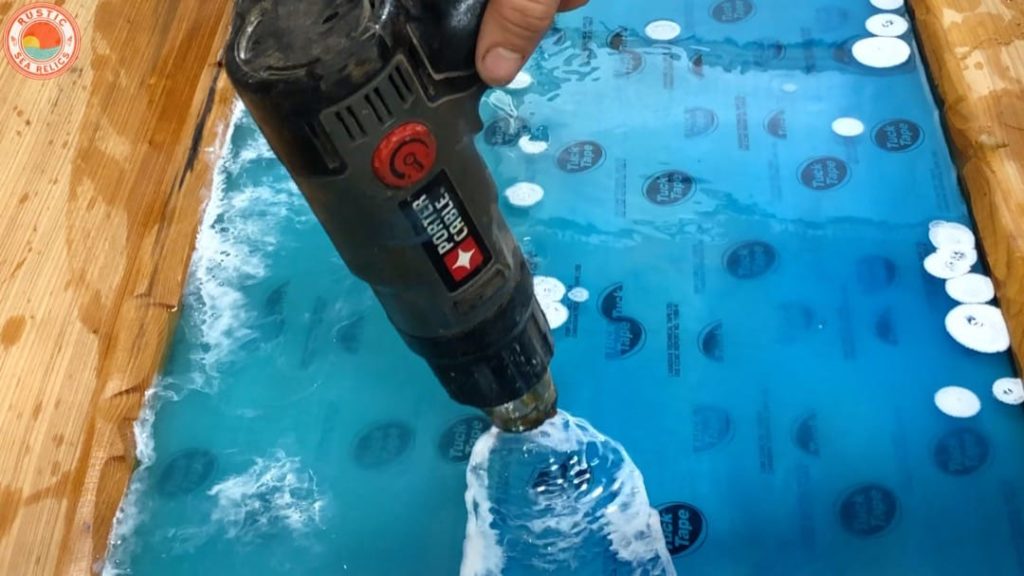

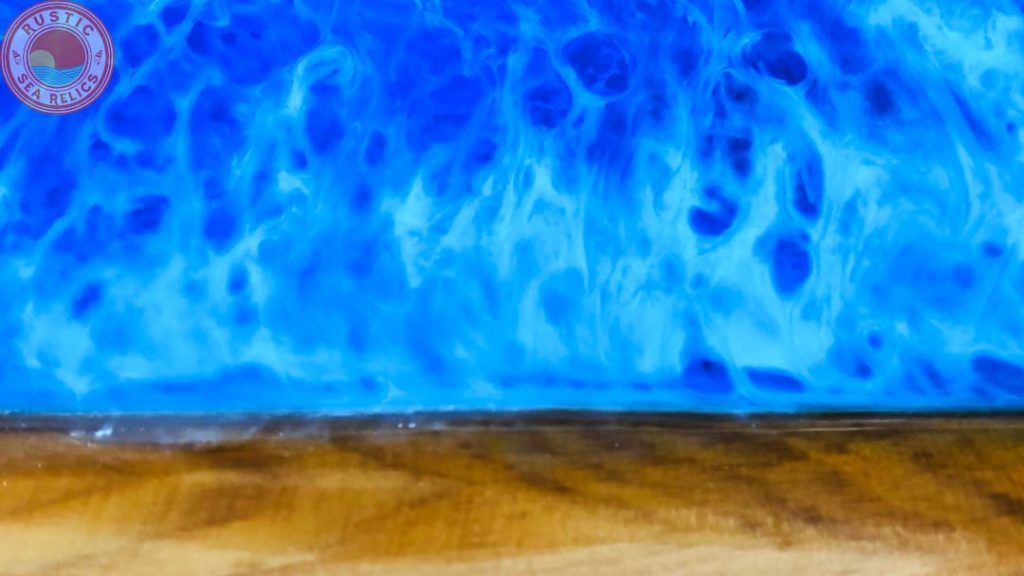
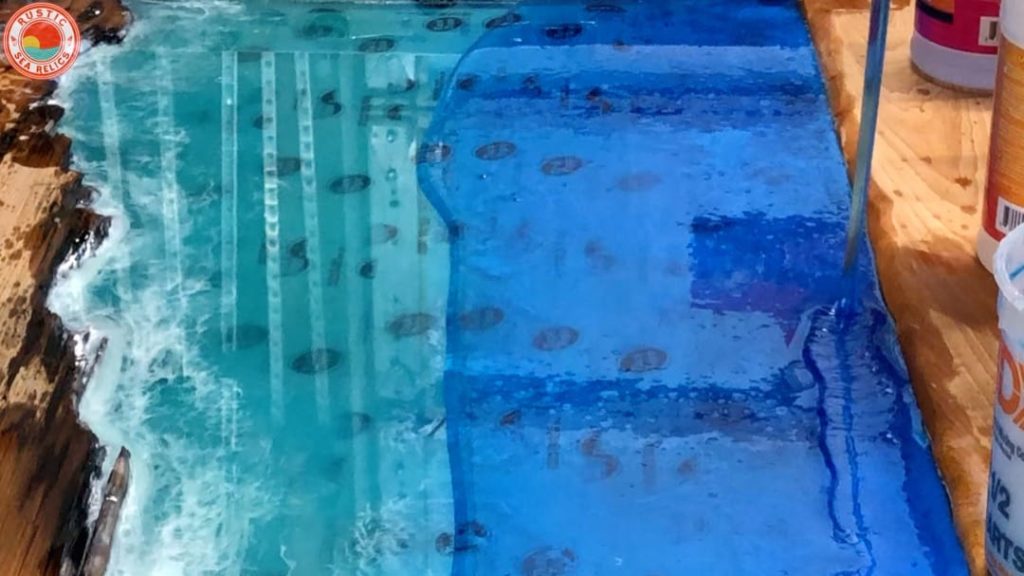
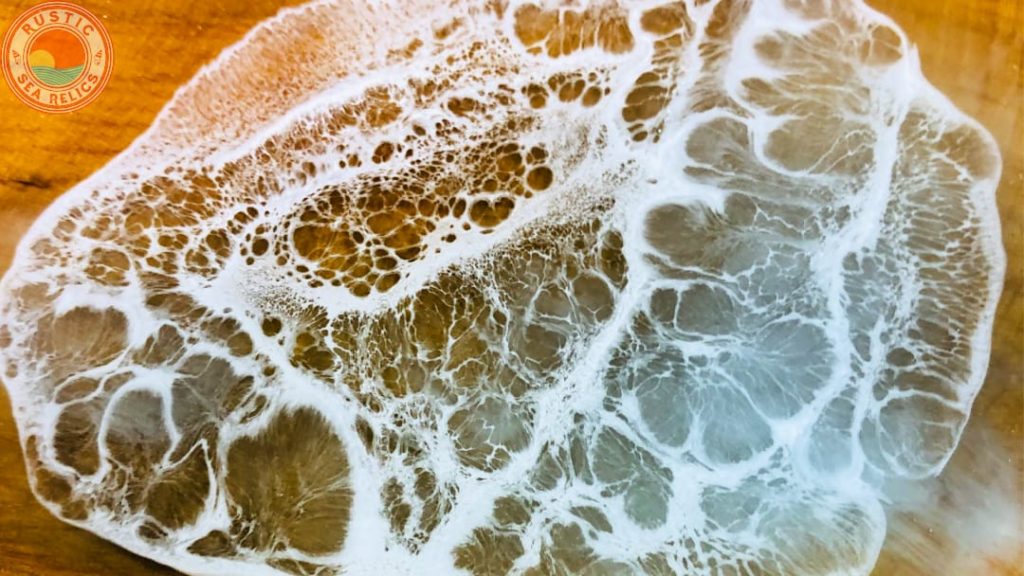
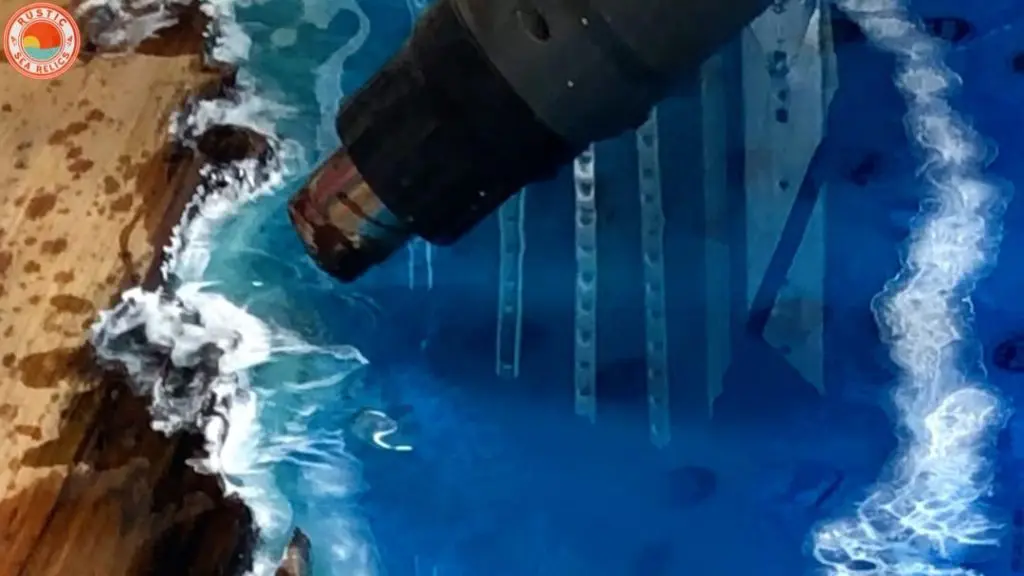
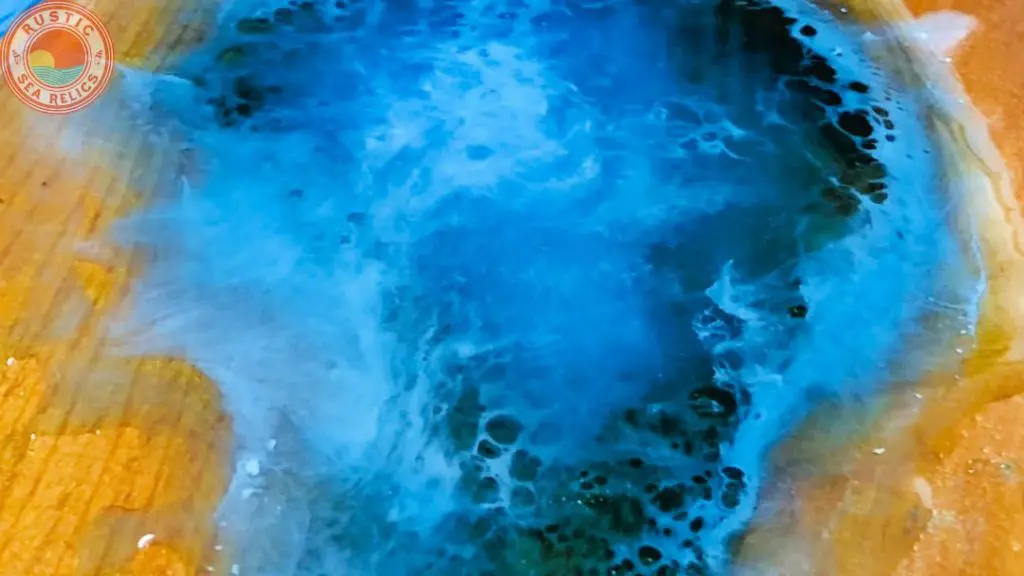
Resin Wave Foam Effect
To create resin cells and the resin lacing effect, apply heat with a heat gun or torch.
Most importantly, leave the resin alone afterwards to allow it to do its magic.
I find a torch works better to create resin cells.

Additionally, the heat gun works best to create the resin lacing effect.

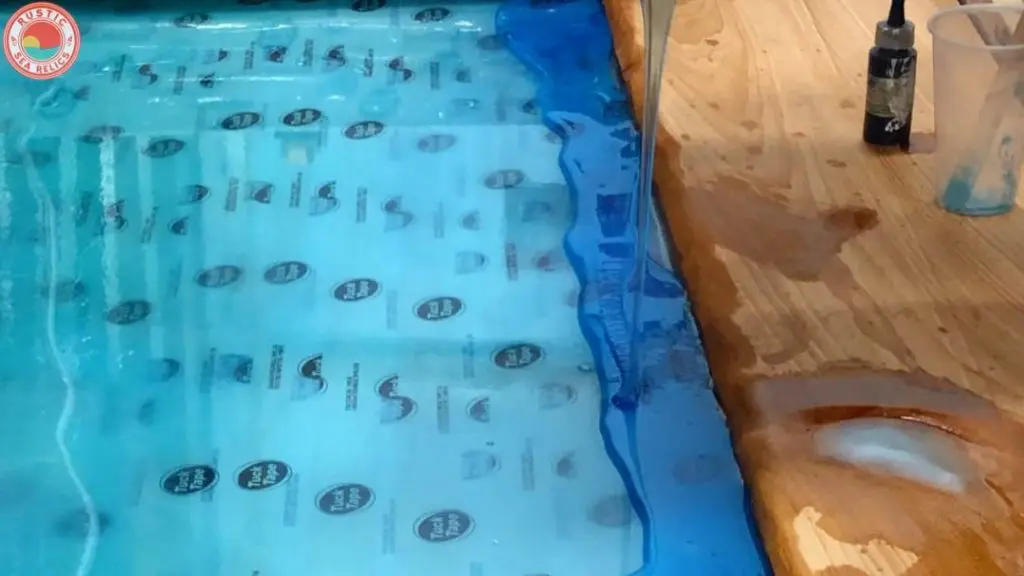
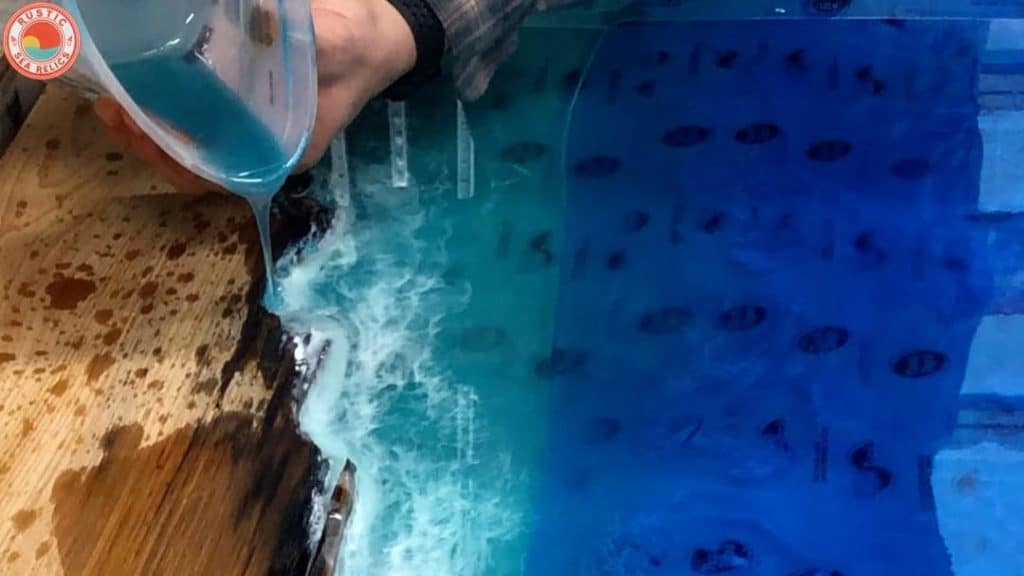
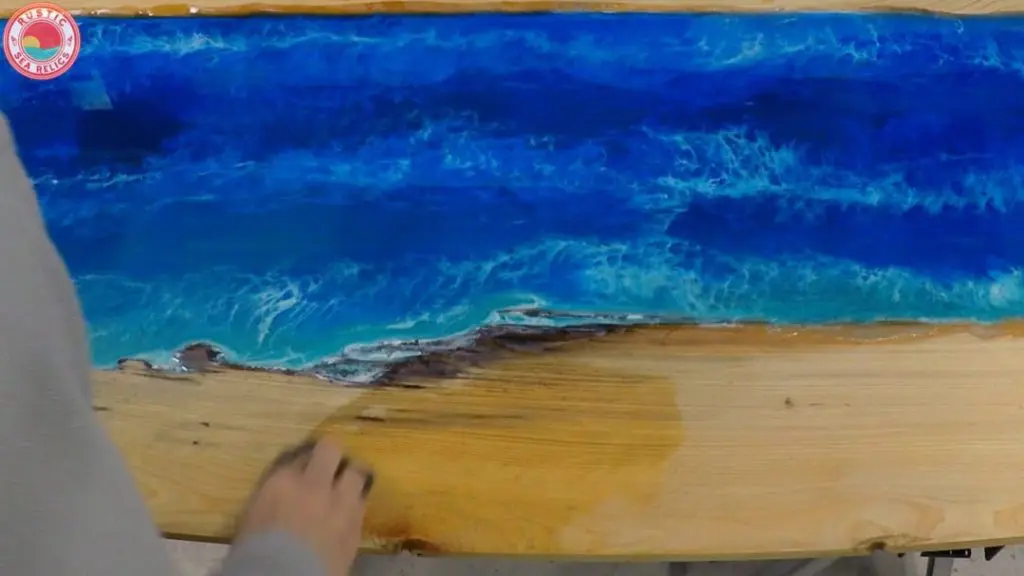
6 – Final Epoxy Pour
Next, I proceeded with the final epoxy pour following the same procedure as the second pour.
As you can see, I decided to use a lot of blue dye to get a dark blue color.


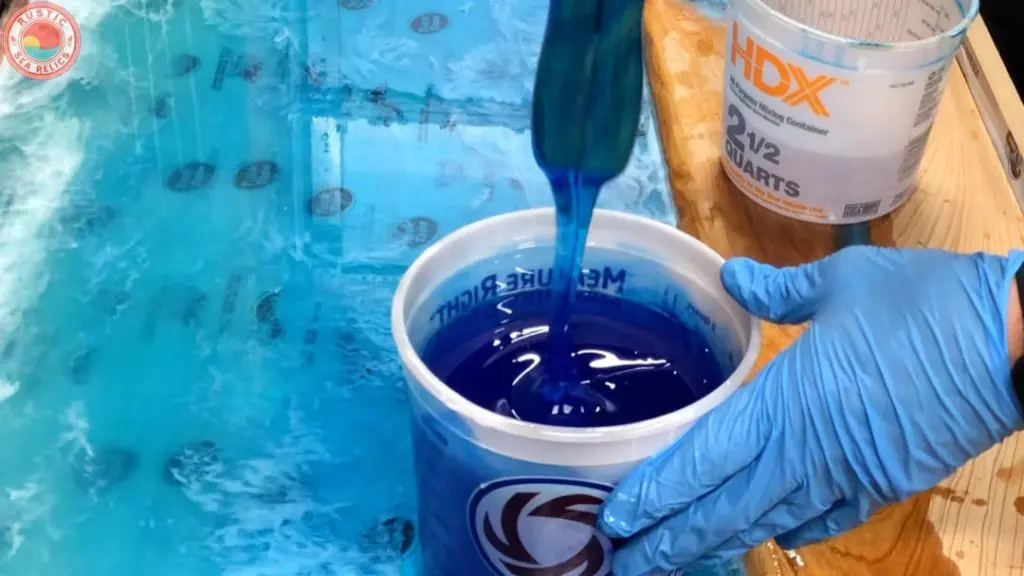
I poured the translucent blue resin on the deep side of the resin wood ocean art.


Then, I loosened the resin with a heat gun to allow it to spread across the surface easier.
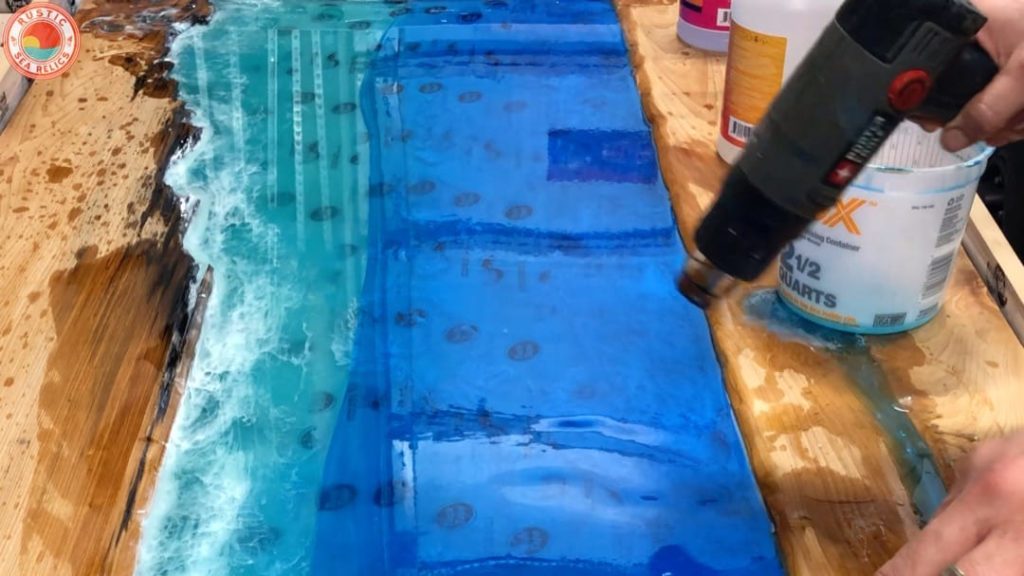

Once the blue resin covered roughly 75% of the surface, I mixed and poured a small amount of greenish blue resin near the beach side.

3D Resin Ocean Art
You may be wondering why I created resin waves in the second layer and covered them with the third layer.
Well, I use multiple epoxy resin layers to create a 3D effect.

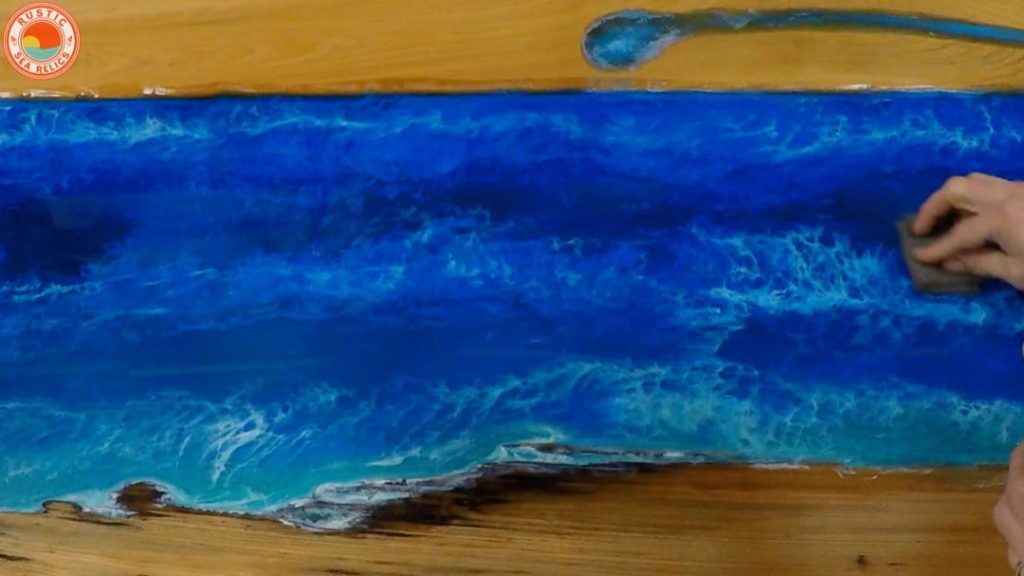
Resin Waves
Now, for the fun part – creating resin ocean waves.
I followed the same procedure to create resin ocean waves as in the previous step.
However, I added a very small amount of isopropyl alcohol to the white epoxy.
By adding alcohol to the white epoxy, I created a more dramatic wave foam effect with more resin cells and resin lacing.
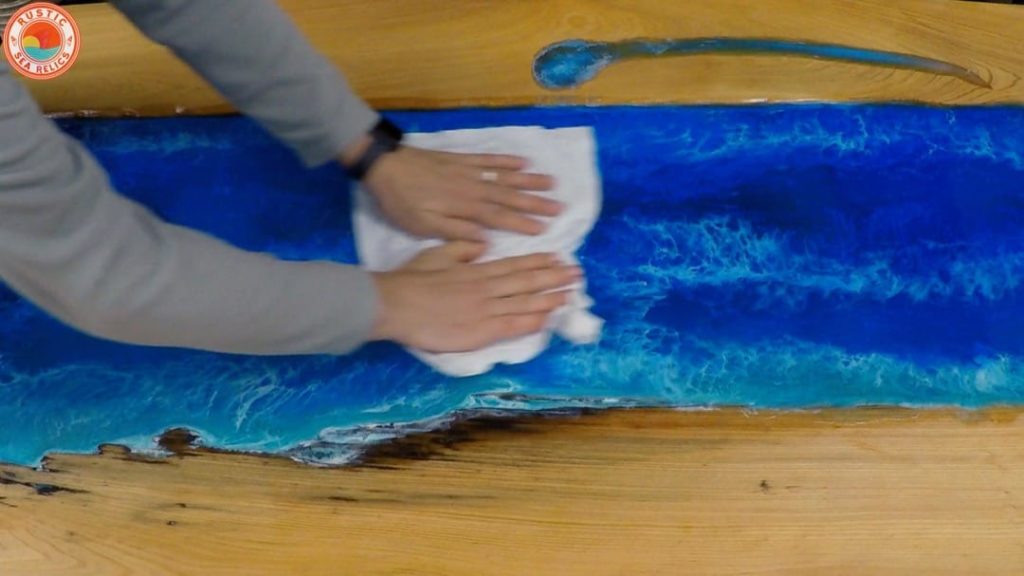
For example, the picture below is a resin inlay with a resin cell.
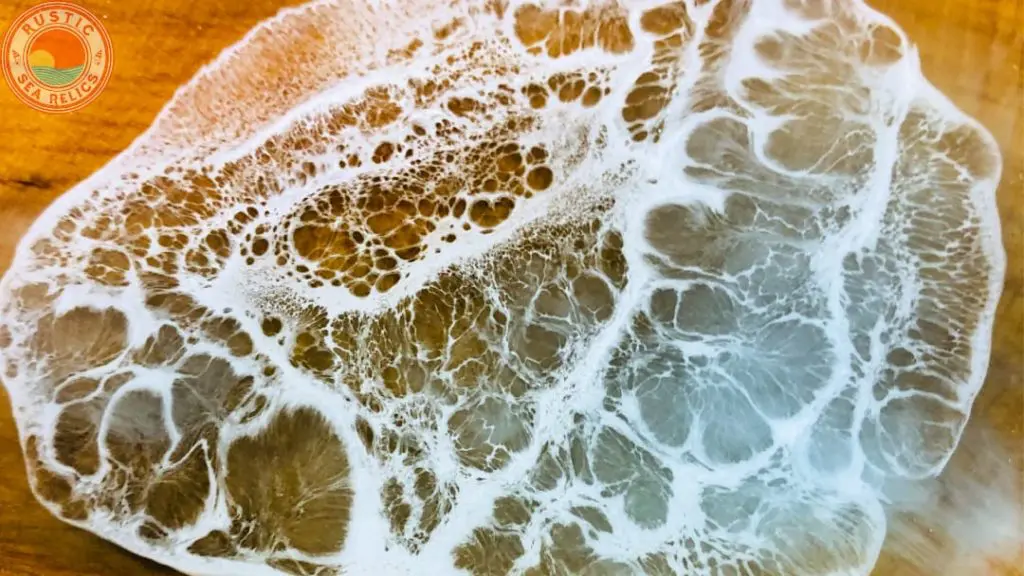
Since alcohol ink acts as a resin dispersion agent, it disperses on top of the blue resin.
In addition, it doesn’t mix with the blue resin as easily.


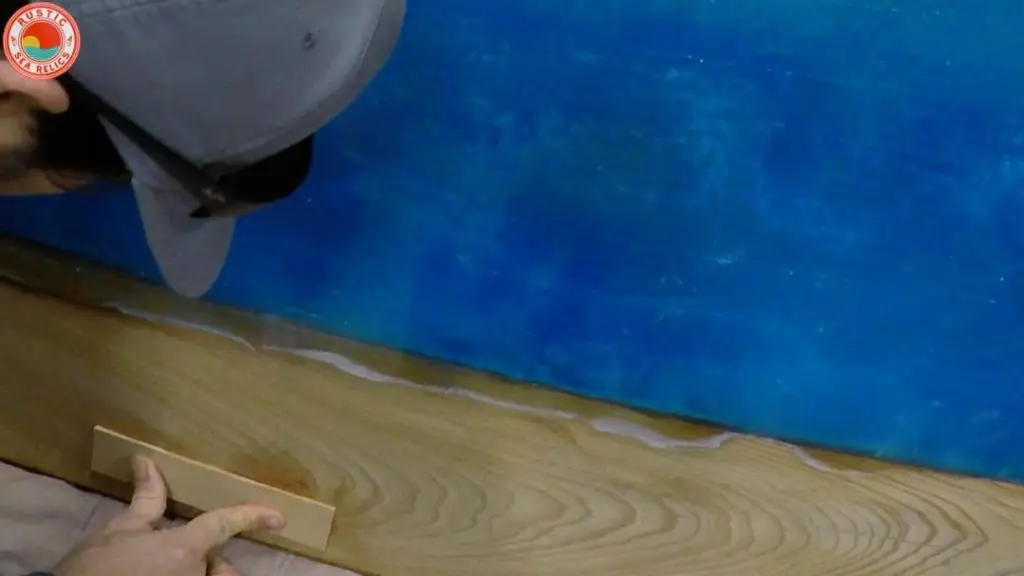
I used my heat gun to move the white strip of resin on the wood to simulate crashing waves on the shore.


The second wave and third wave in the middle of this piece provide
Finally, the ocean resin wood art is ready for sanding.

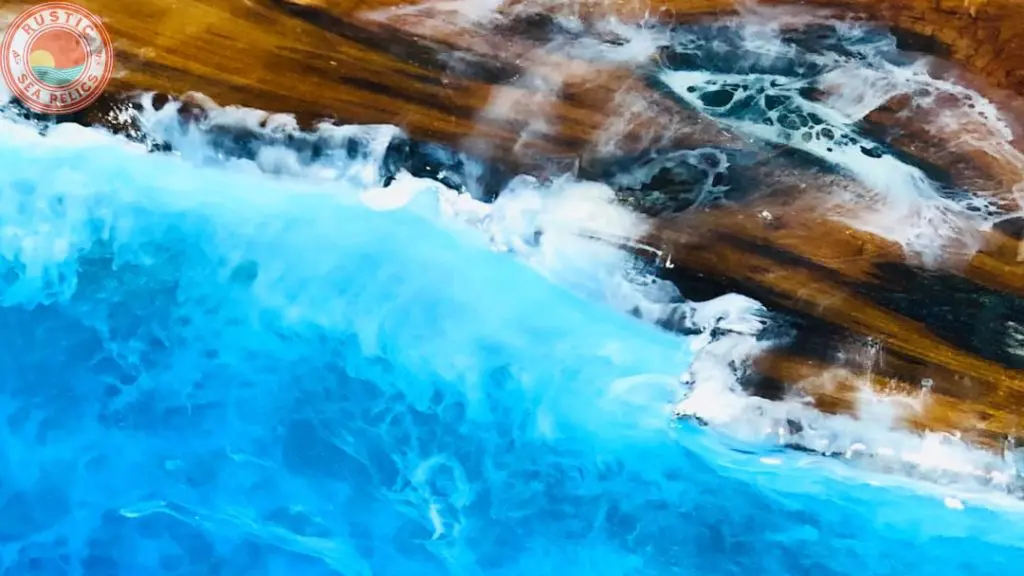
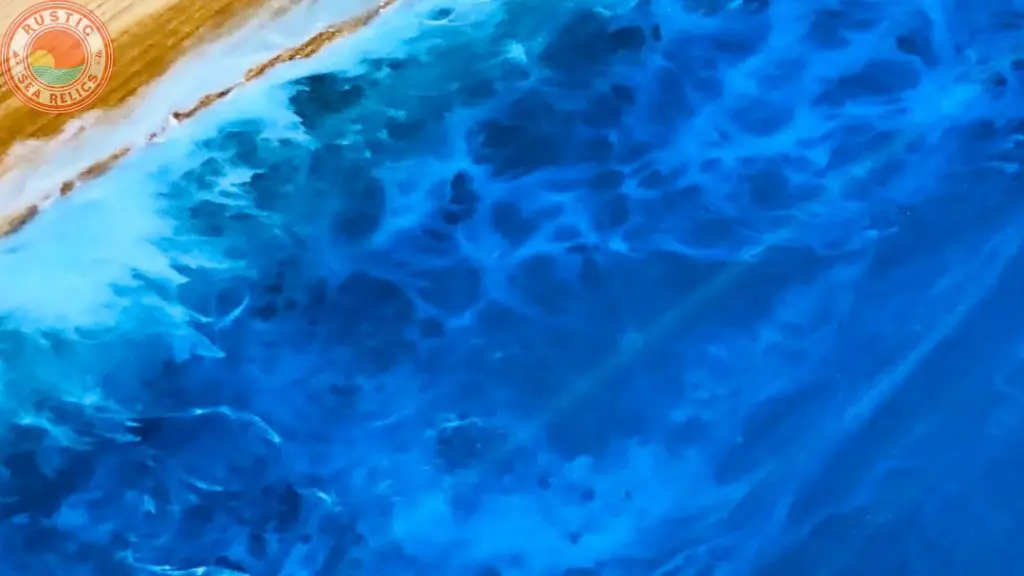
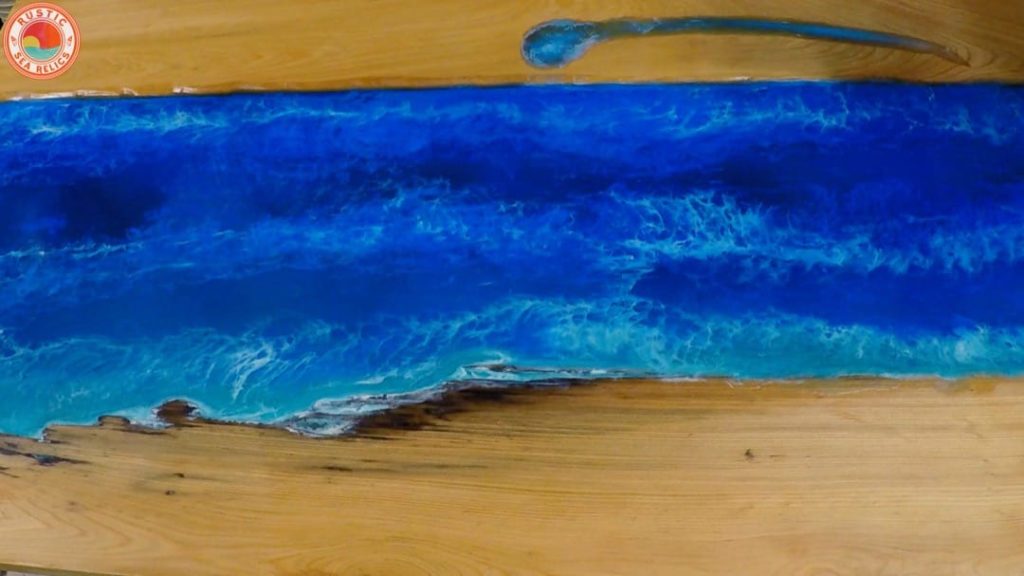
Working with Resin Art Techniques
The white waves turned out great.
Moreover, the resin art techniques created unique effects such as white foamy waves and ocean current swells.


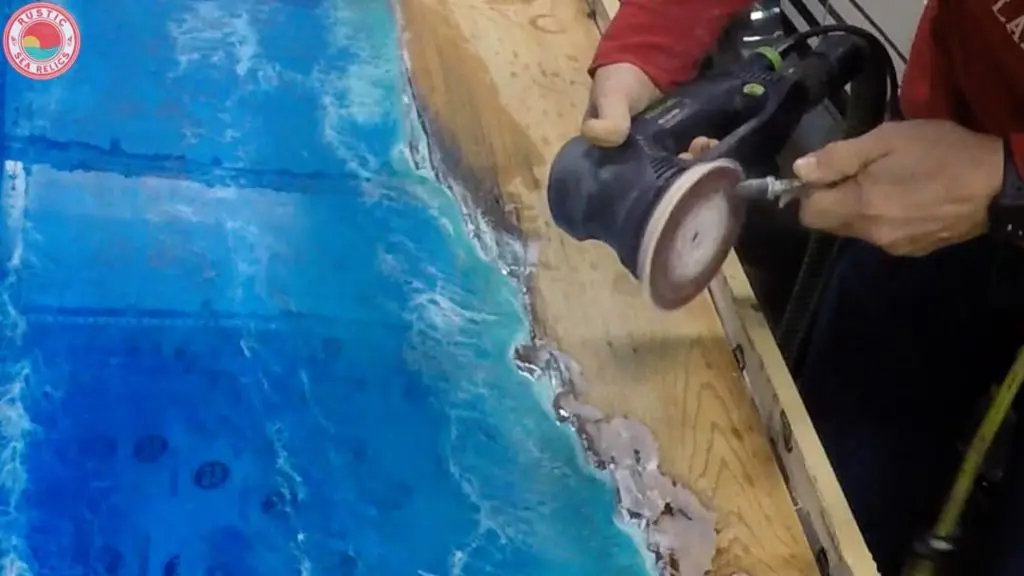
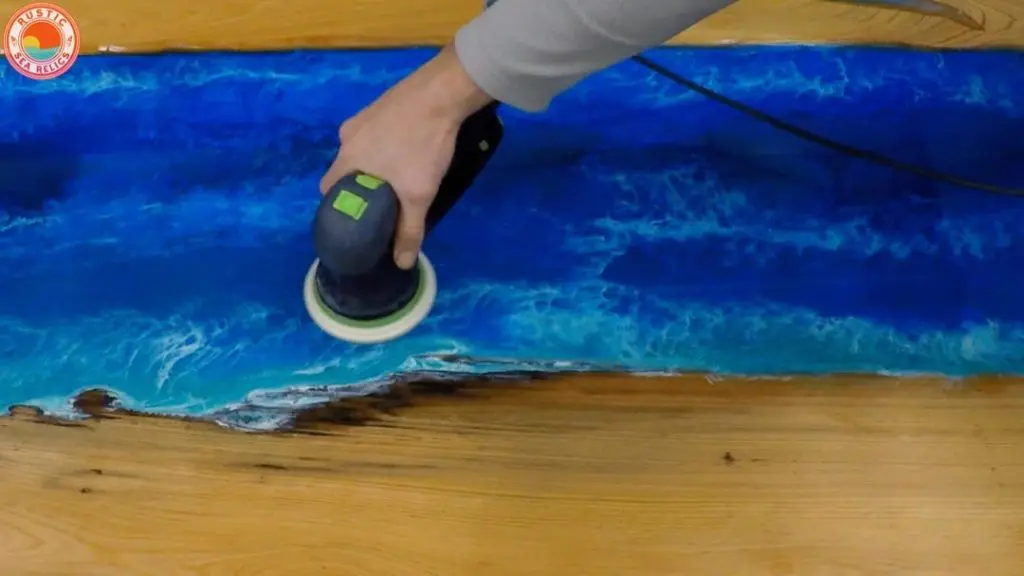
Sanding Resin and Wood
I use a tried and true technique to sand resin and wood surfaces.
First, I use a Festool RO125 with a vacuum and set the sander to rotary mode.
I use the following grits: 120, 150, 180, 220, 320, 400.

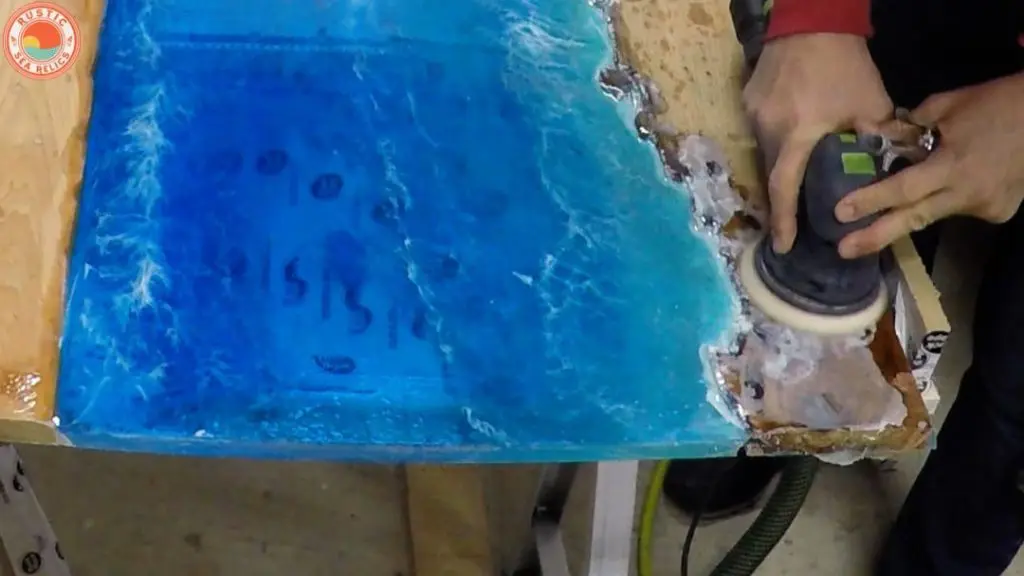
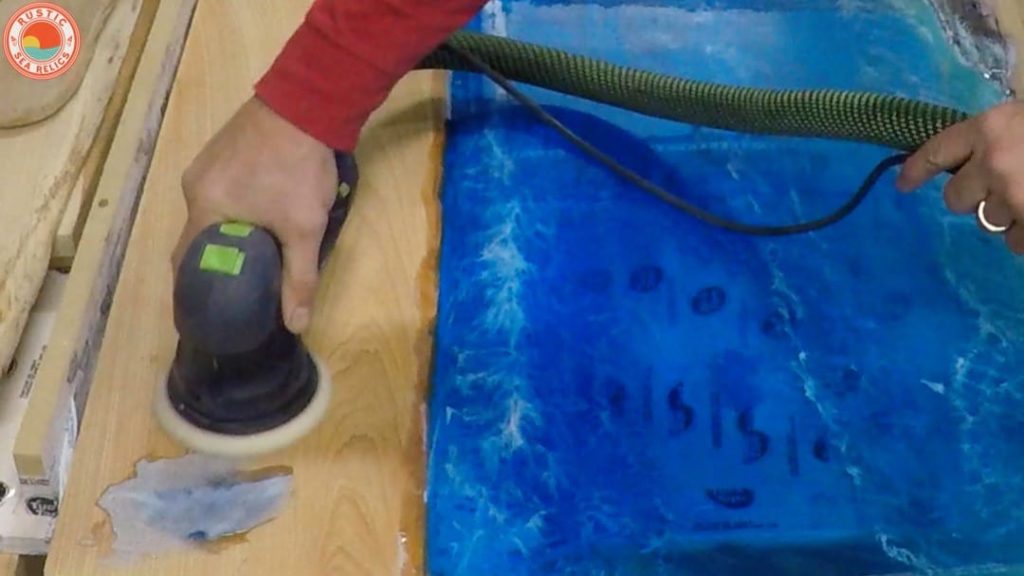

I keep the sandpaper clean by blowing off the resin build up.
Ultimately, this is the key to sanding resin like a pro.
For additional tips, visit this detailed resin and wood sanding tutorial.

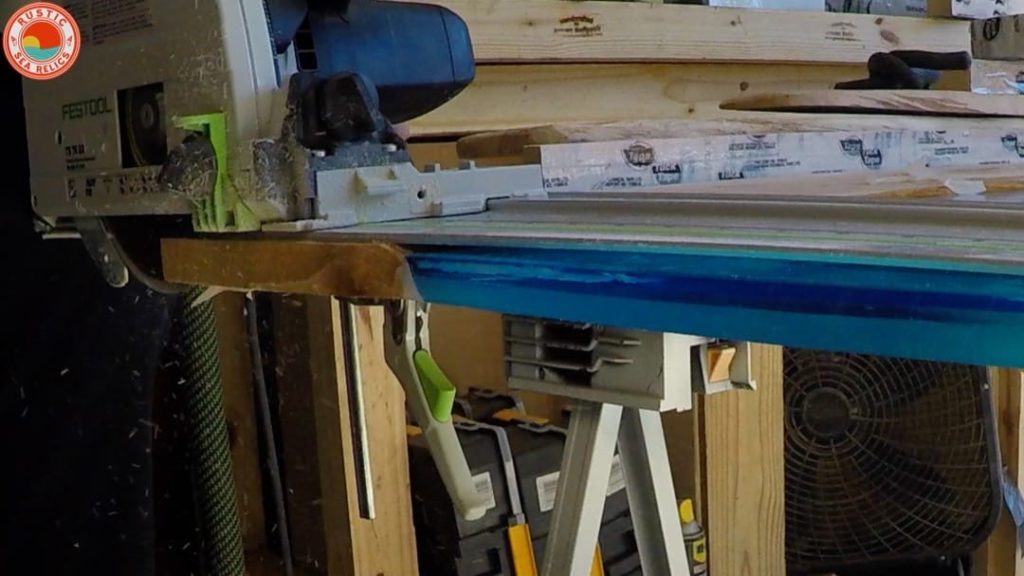
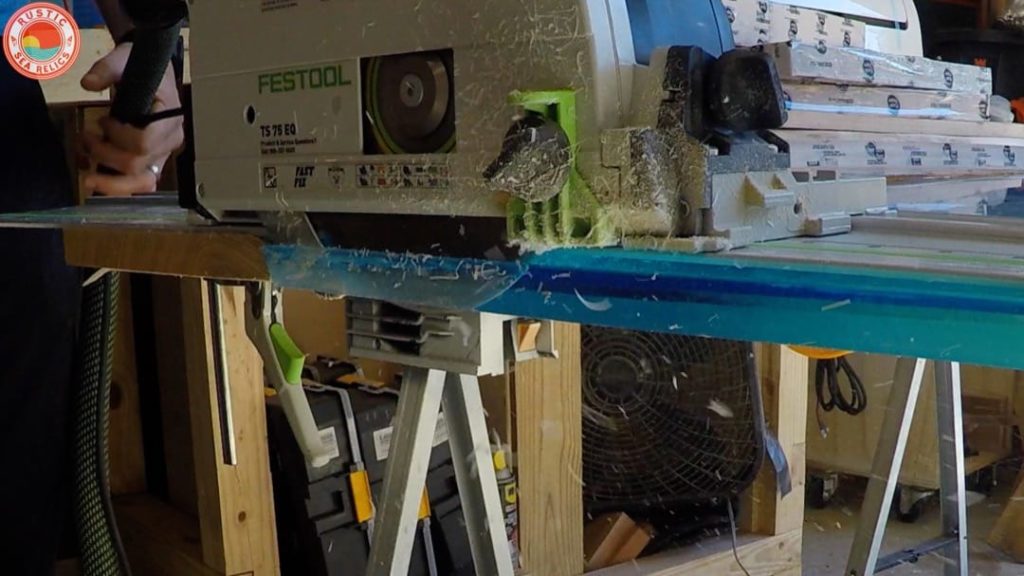
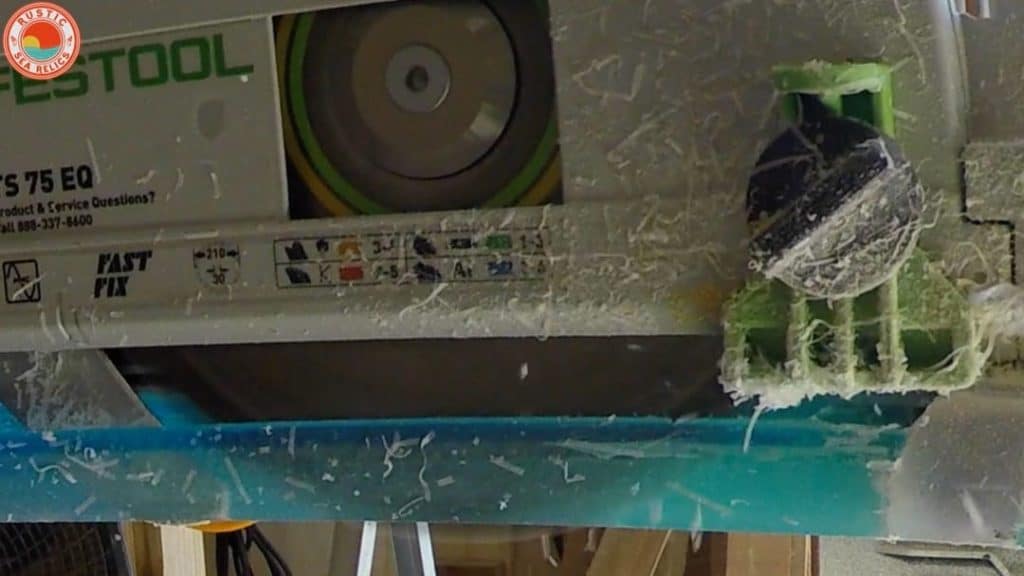
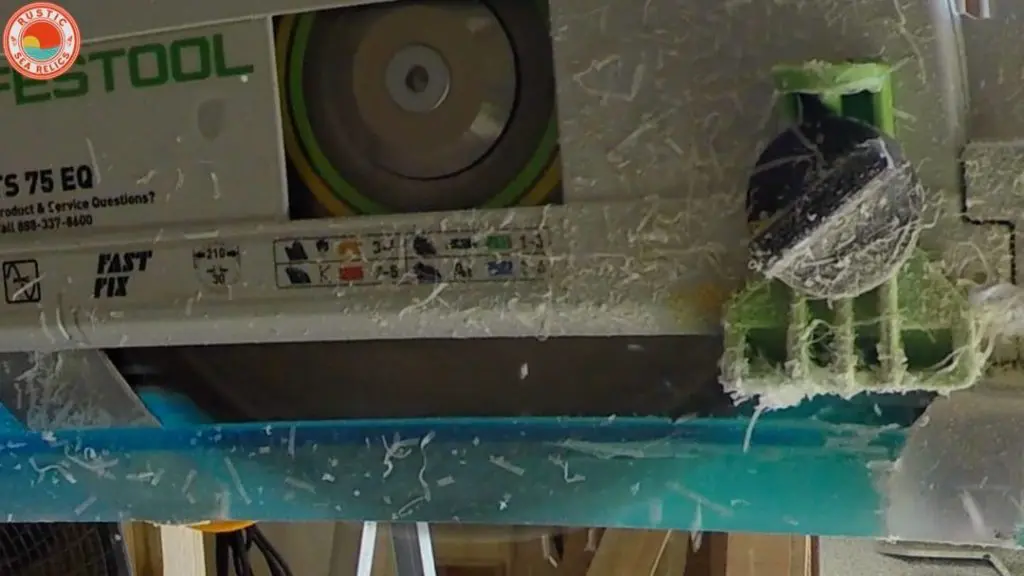
Trim Ends
I cut roughly 1/2″ off each end with my track saw.


Apply Resin and Wood Finish
I like to finish resin and wood surfaces with Odies Oil.
Also, there are many suitable finishes for resin and wood surfaces.
So, I encourage you to visit this tutorial about the best finishes for wood and resin.
First, I applied Odies Oil by hand with an applicator pad.

Next, I used a terry towel to wipe off the excess.
A soft cloth works as well.

Then, I used my rotary sander with a polishing abrasive pad to work the remaining oil into the surface and remove the final excess.

Finally, I let it sit for 48 hours.

Attach French Cleat Wall Hanger
As a final step, I centered and attached a french cleat wall hanger to the top of the ocean resin wood art.

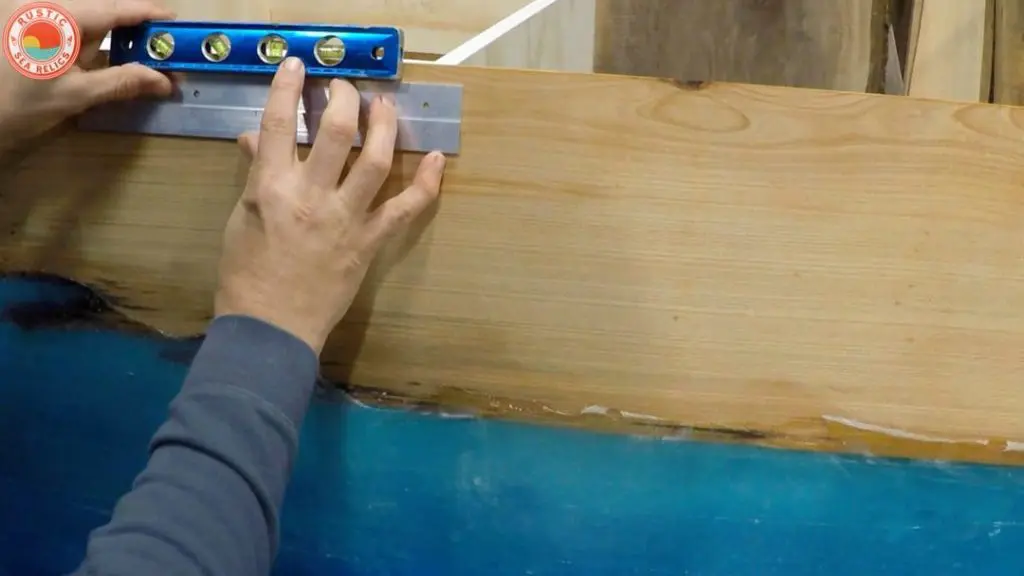
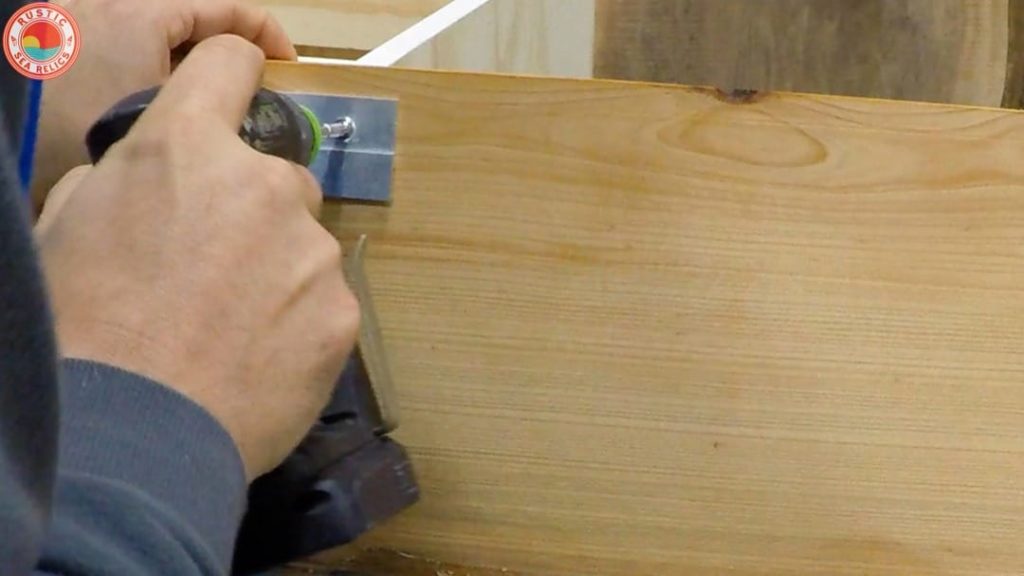
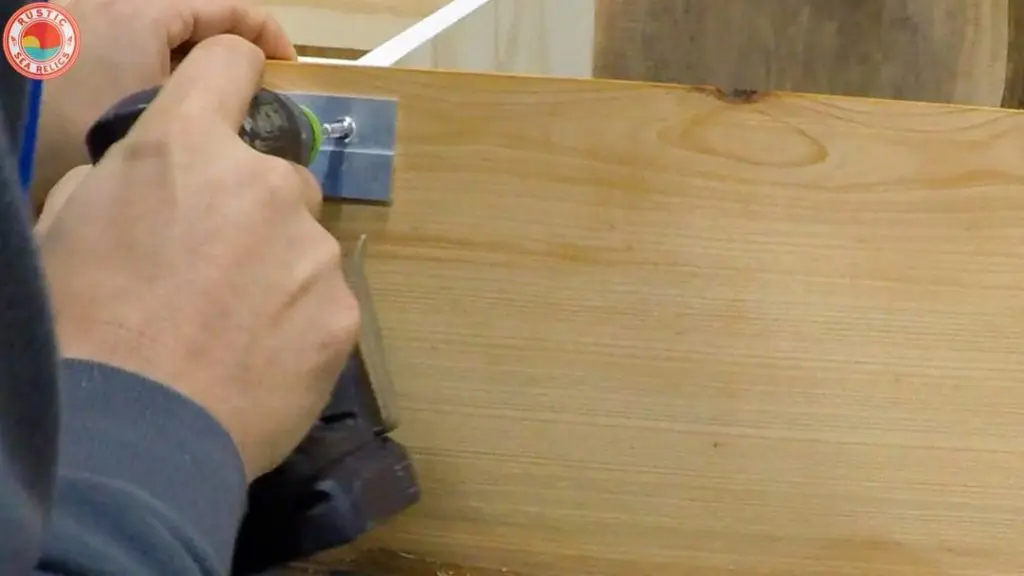
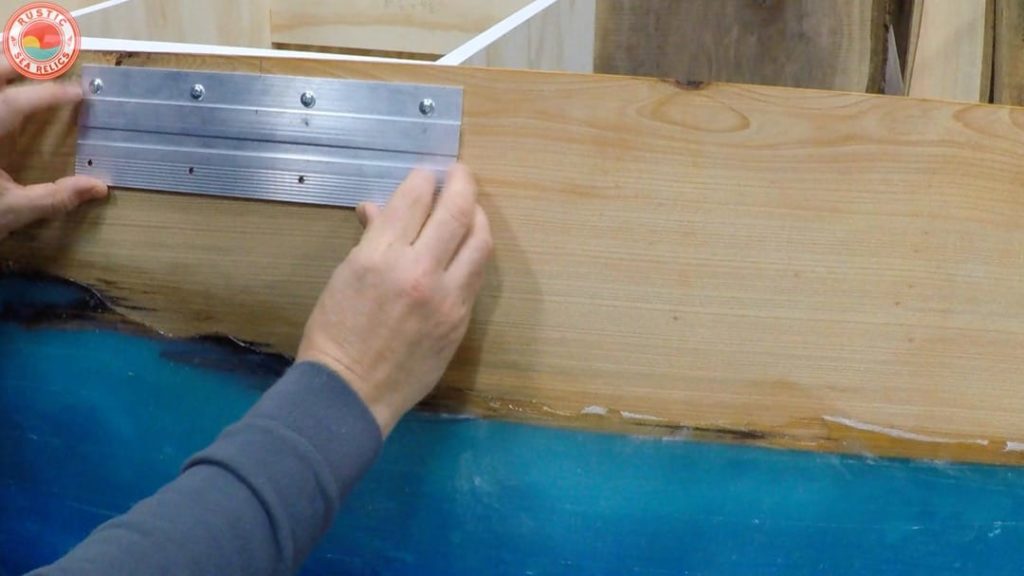

Next, I attached a wood spacer at the bottom the same thickness as the french cleat.
This will allow the ocean resin wood art to sit flush on the wall.

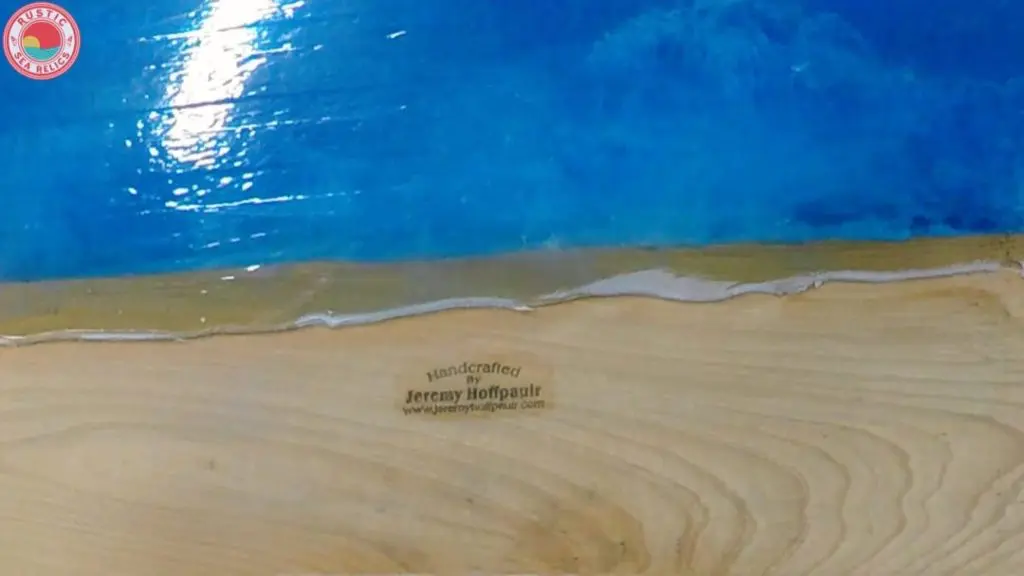
Finally, I stamped the back of the ocean wall art with my logo.

Conclusion
In conclusion, I hope this ocean resin wood art tutorial provided you with value.
Keep in mind, you can use this resin ocean art technique to create a serving tray or an epoxy resin ocean painting.
Please leave a comment down below if you have any questions or just to say ‘hello’.
Related Posts:
Can I mix acrylic paint with resin?
Yes, acrylic paint can be used to color resin. They are a great way to add color variations to resin. Also, be sure to mix 1 part acrylic paint to 10 parts resin – 1:10 rule.
Why do you use a heat gun on resin?
Heat guns are used on resin to remove air bubbles and blend tinted resin.
Why does my resin have tiny bubbles?
Normally, bubbles are formed in resin due to improper mixing or curing.
How do you make epoxy ocean waves?
To make epoxy ocean waves, use a heat gun to blend a small amount of white tinted resin with blue resin.
Joe
Wednesday 11th of August 2021
Excellent job thank you so much & wow unbelievable lessons 👏 👍
rusticsearelics
Thursday 12th of August 2021
Thanks so much, Joe!